Happy Monday Blogosphere!
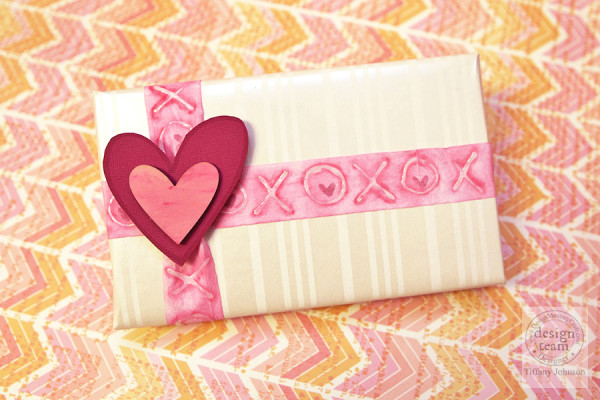
There’s a May Arts & Faber-Castell Design Memory Craft Blog Hop going on this week & I hope you’ll check it out! I have a QUICK technique video featuring May Arts 1″ Solid Wrinkled Ribbon and the NEW Texture Gems Ice Liner!
Stop by the blog & make sure to leave some love & then visit The May Arts Blog! 
Thanks for stopping by,
Hello Blogosphere! Happy Monday!
Sorry about all the posts today, but I have SO much awesomeness to share with you today!
Today, the Faber-Castell® Design Memory Craft® Design Team has teamed up with the folks from Composi Mold! This was my first time creating a mold of ANY kind!
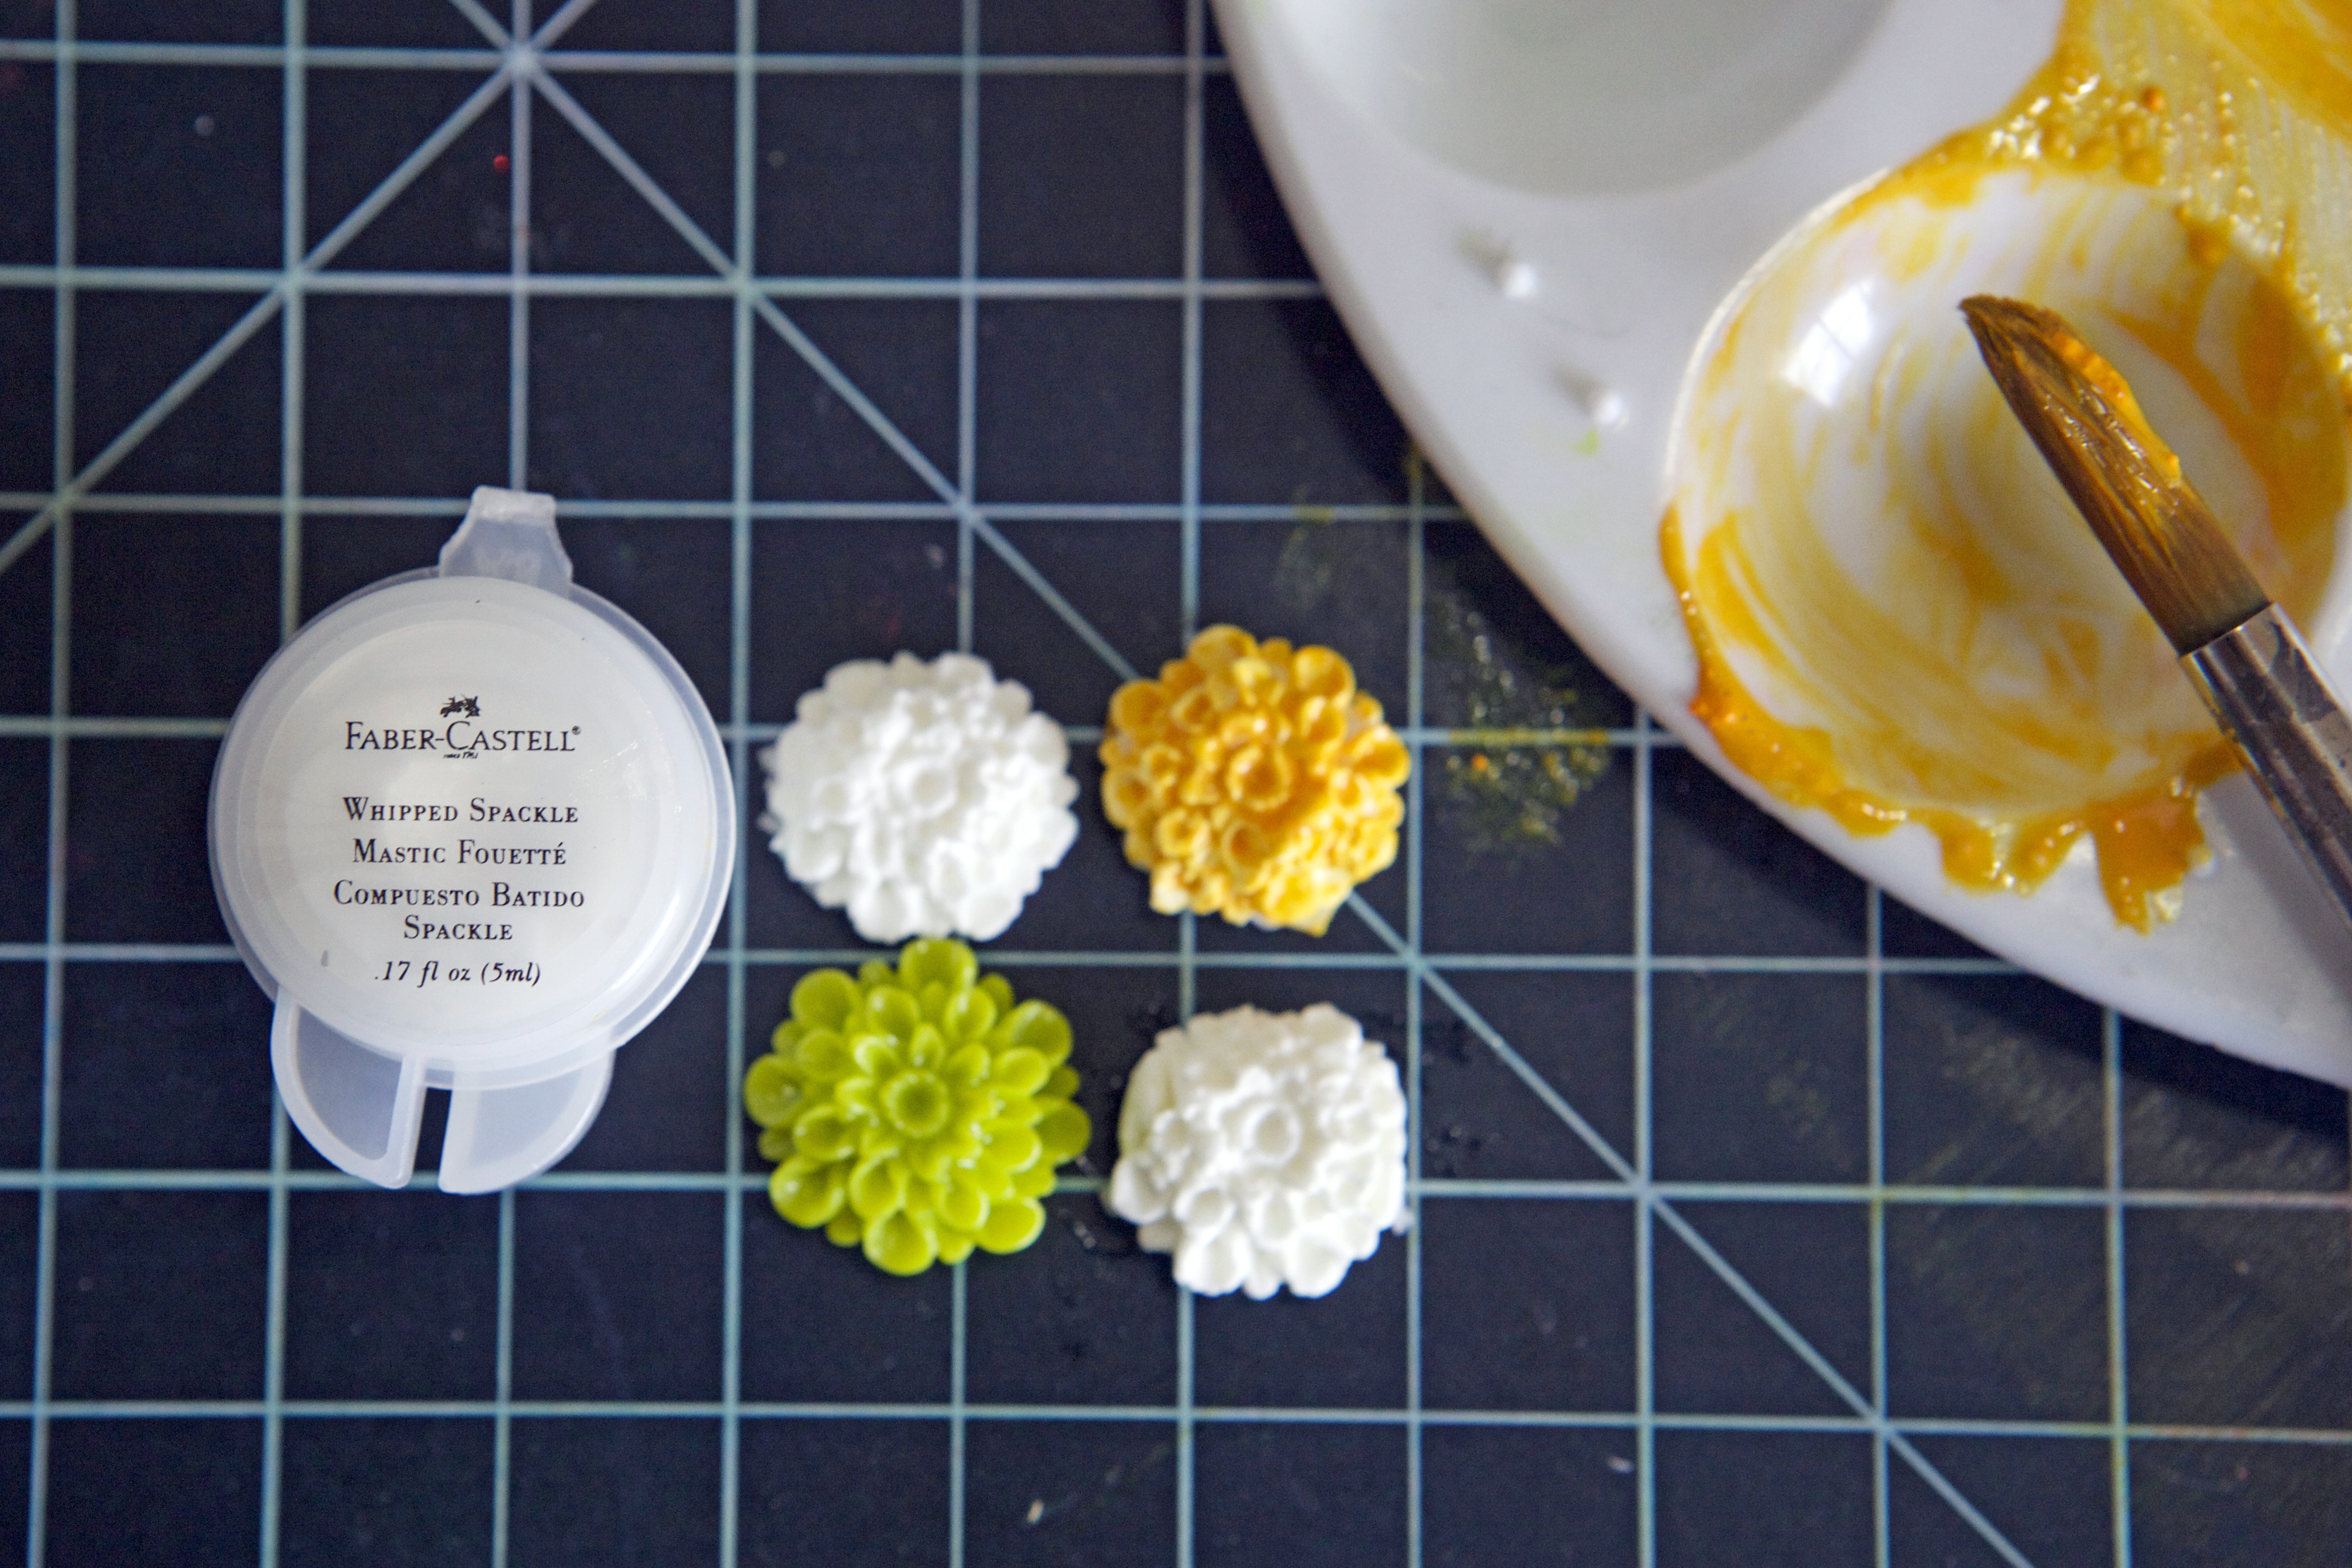
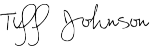
I used my last flower embellishment from Prima (below, green) to create my mold & then used Whipped Spackle in the mold to create my own replicas! Here are some steps to create your own Mini Banner using the NEW Mixed Media with Gelatos® Kit!
Photo Tutorial:
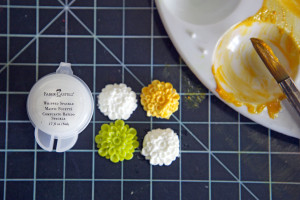

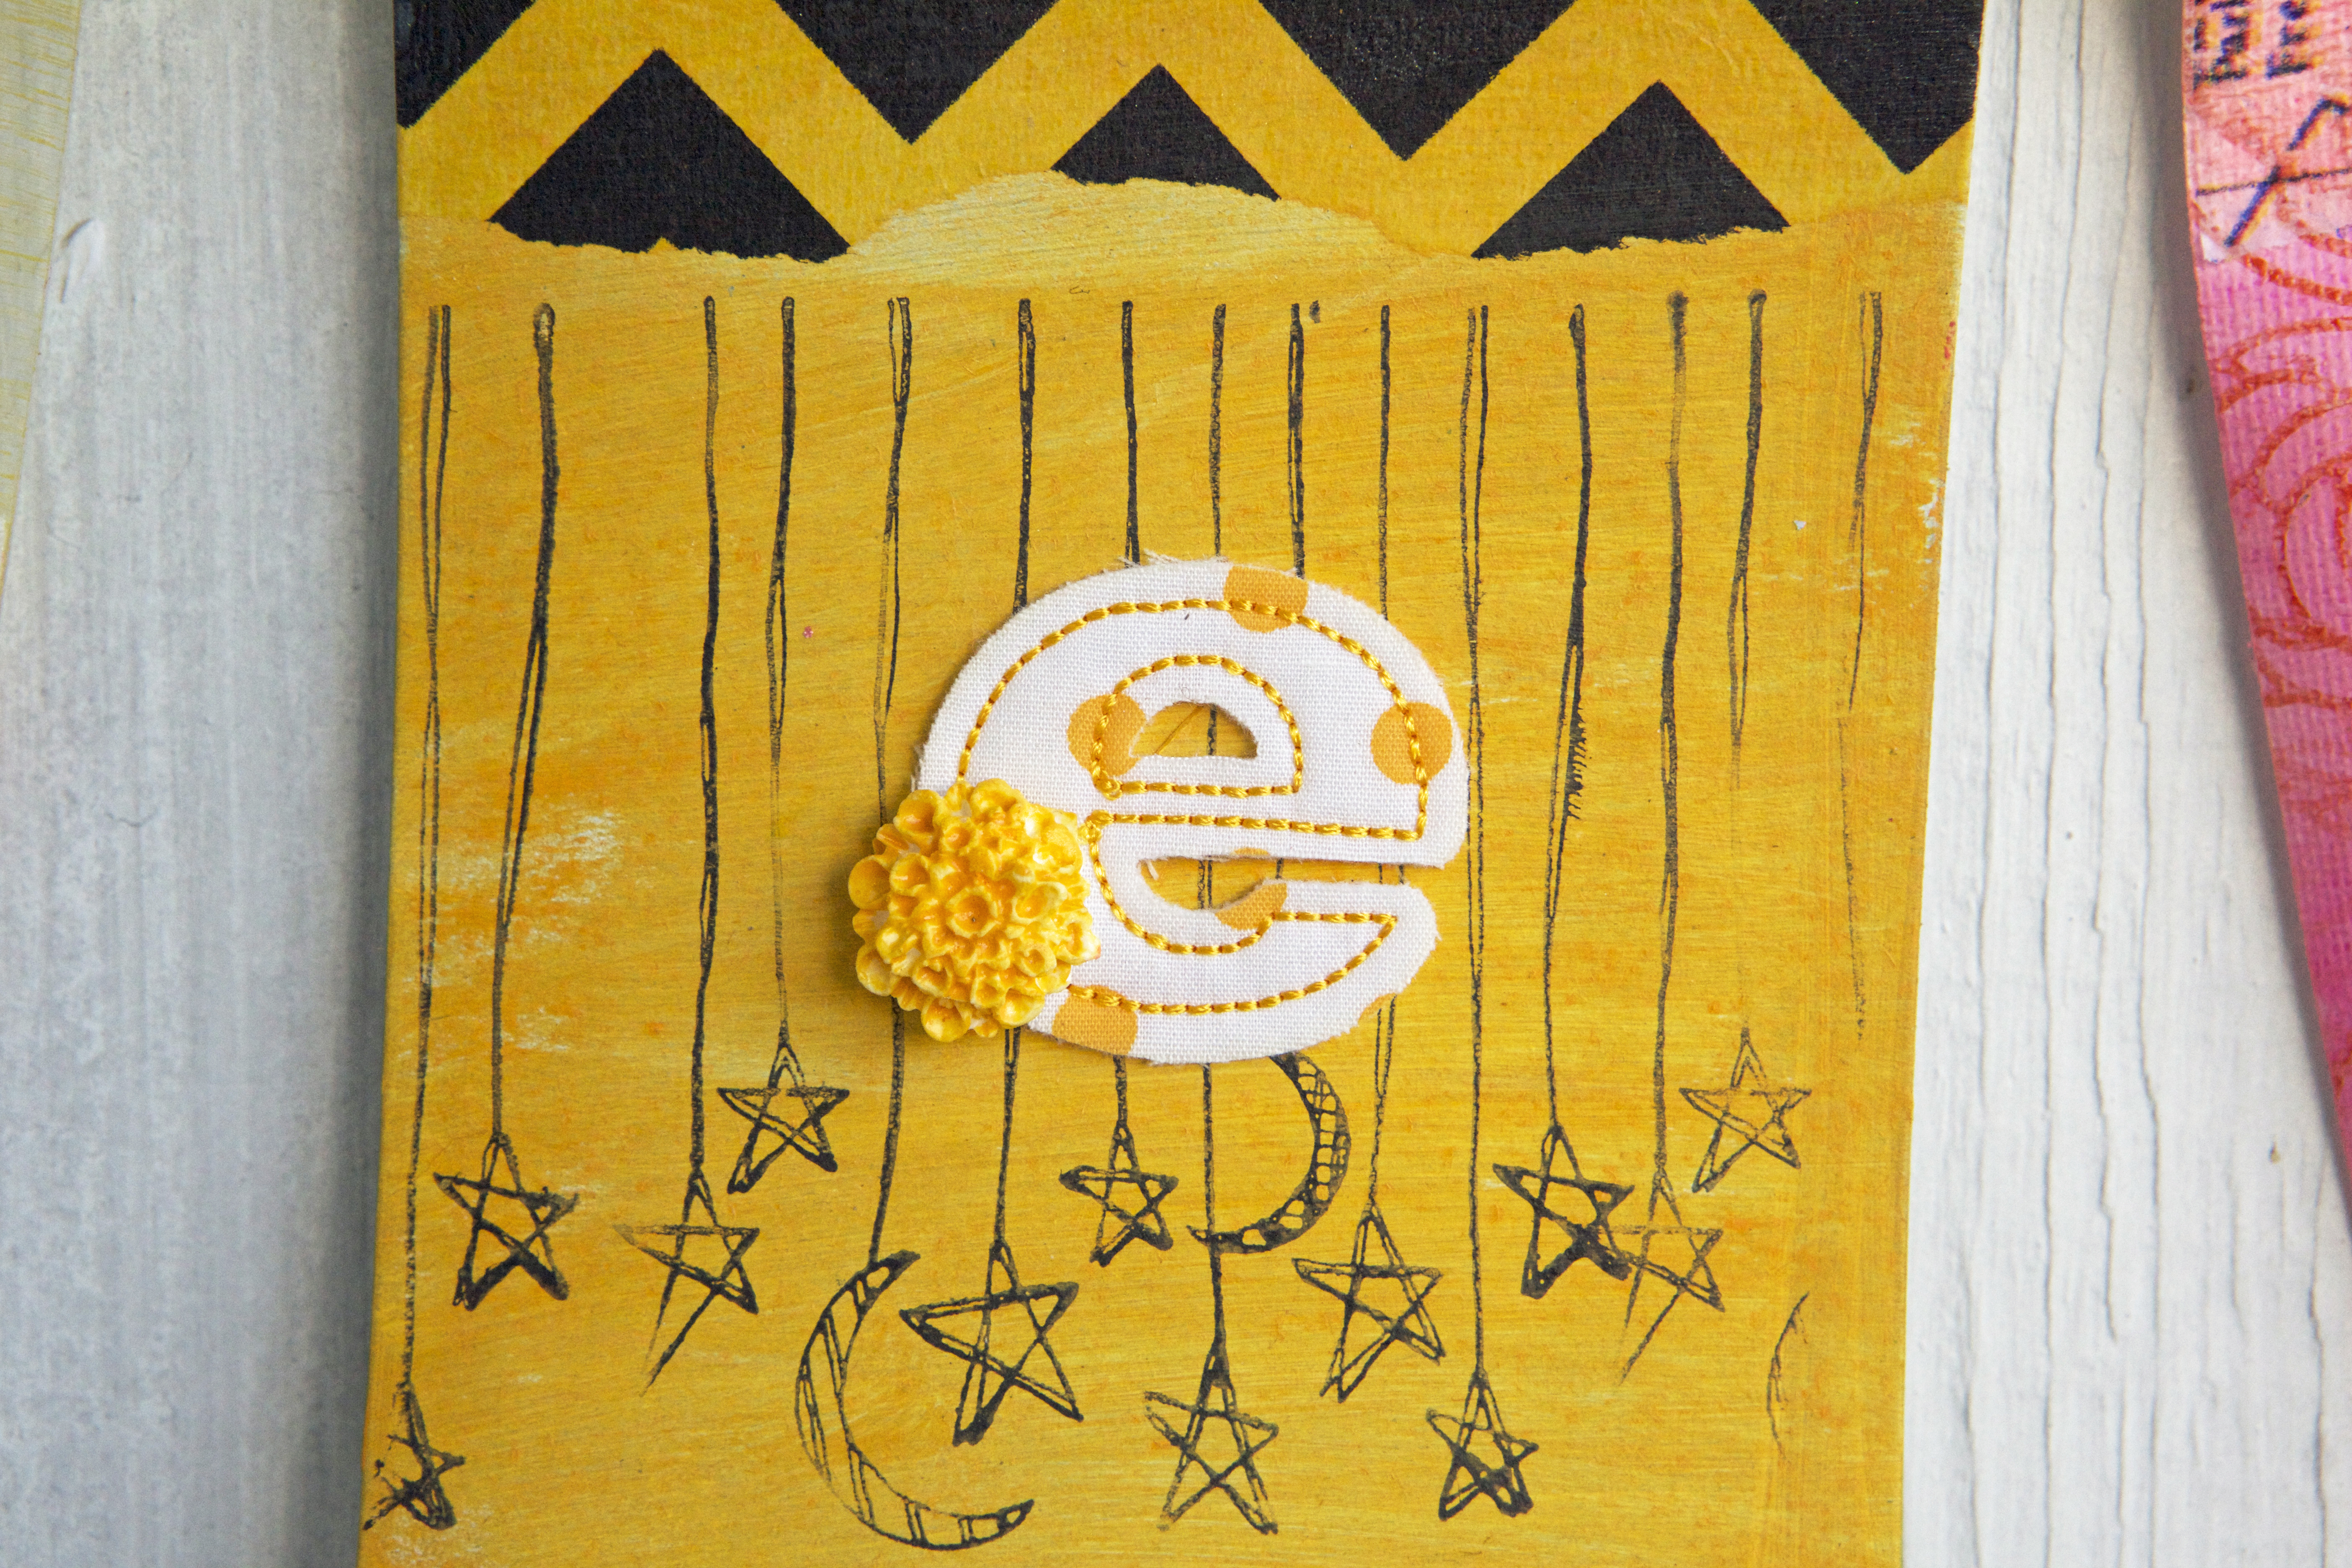
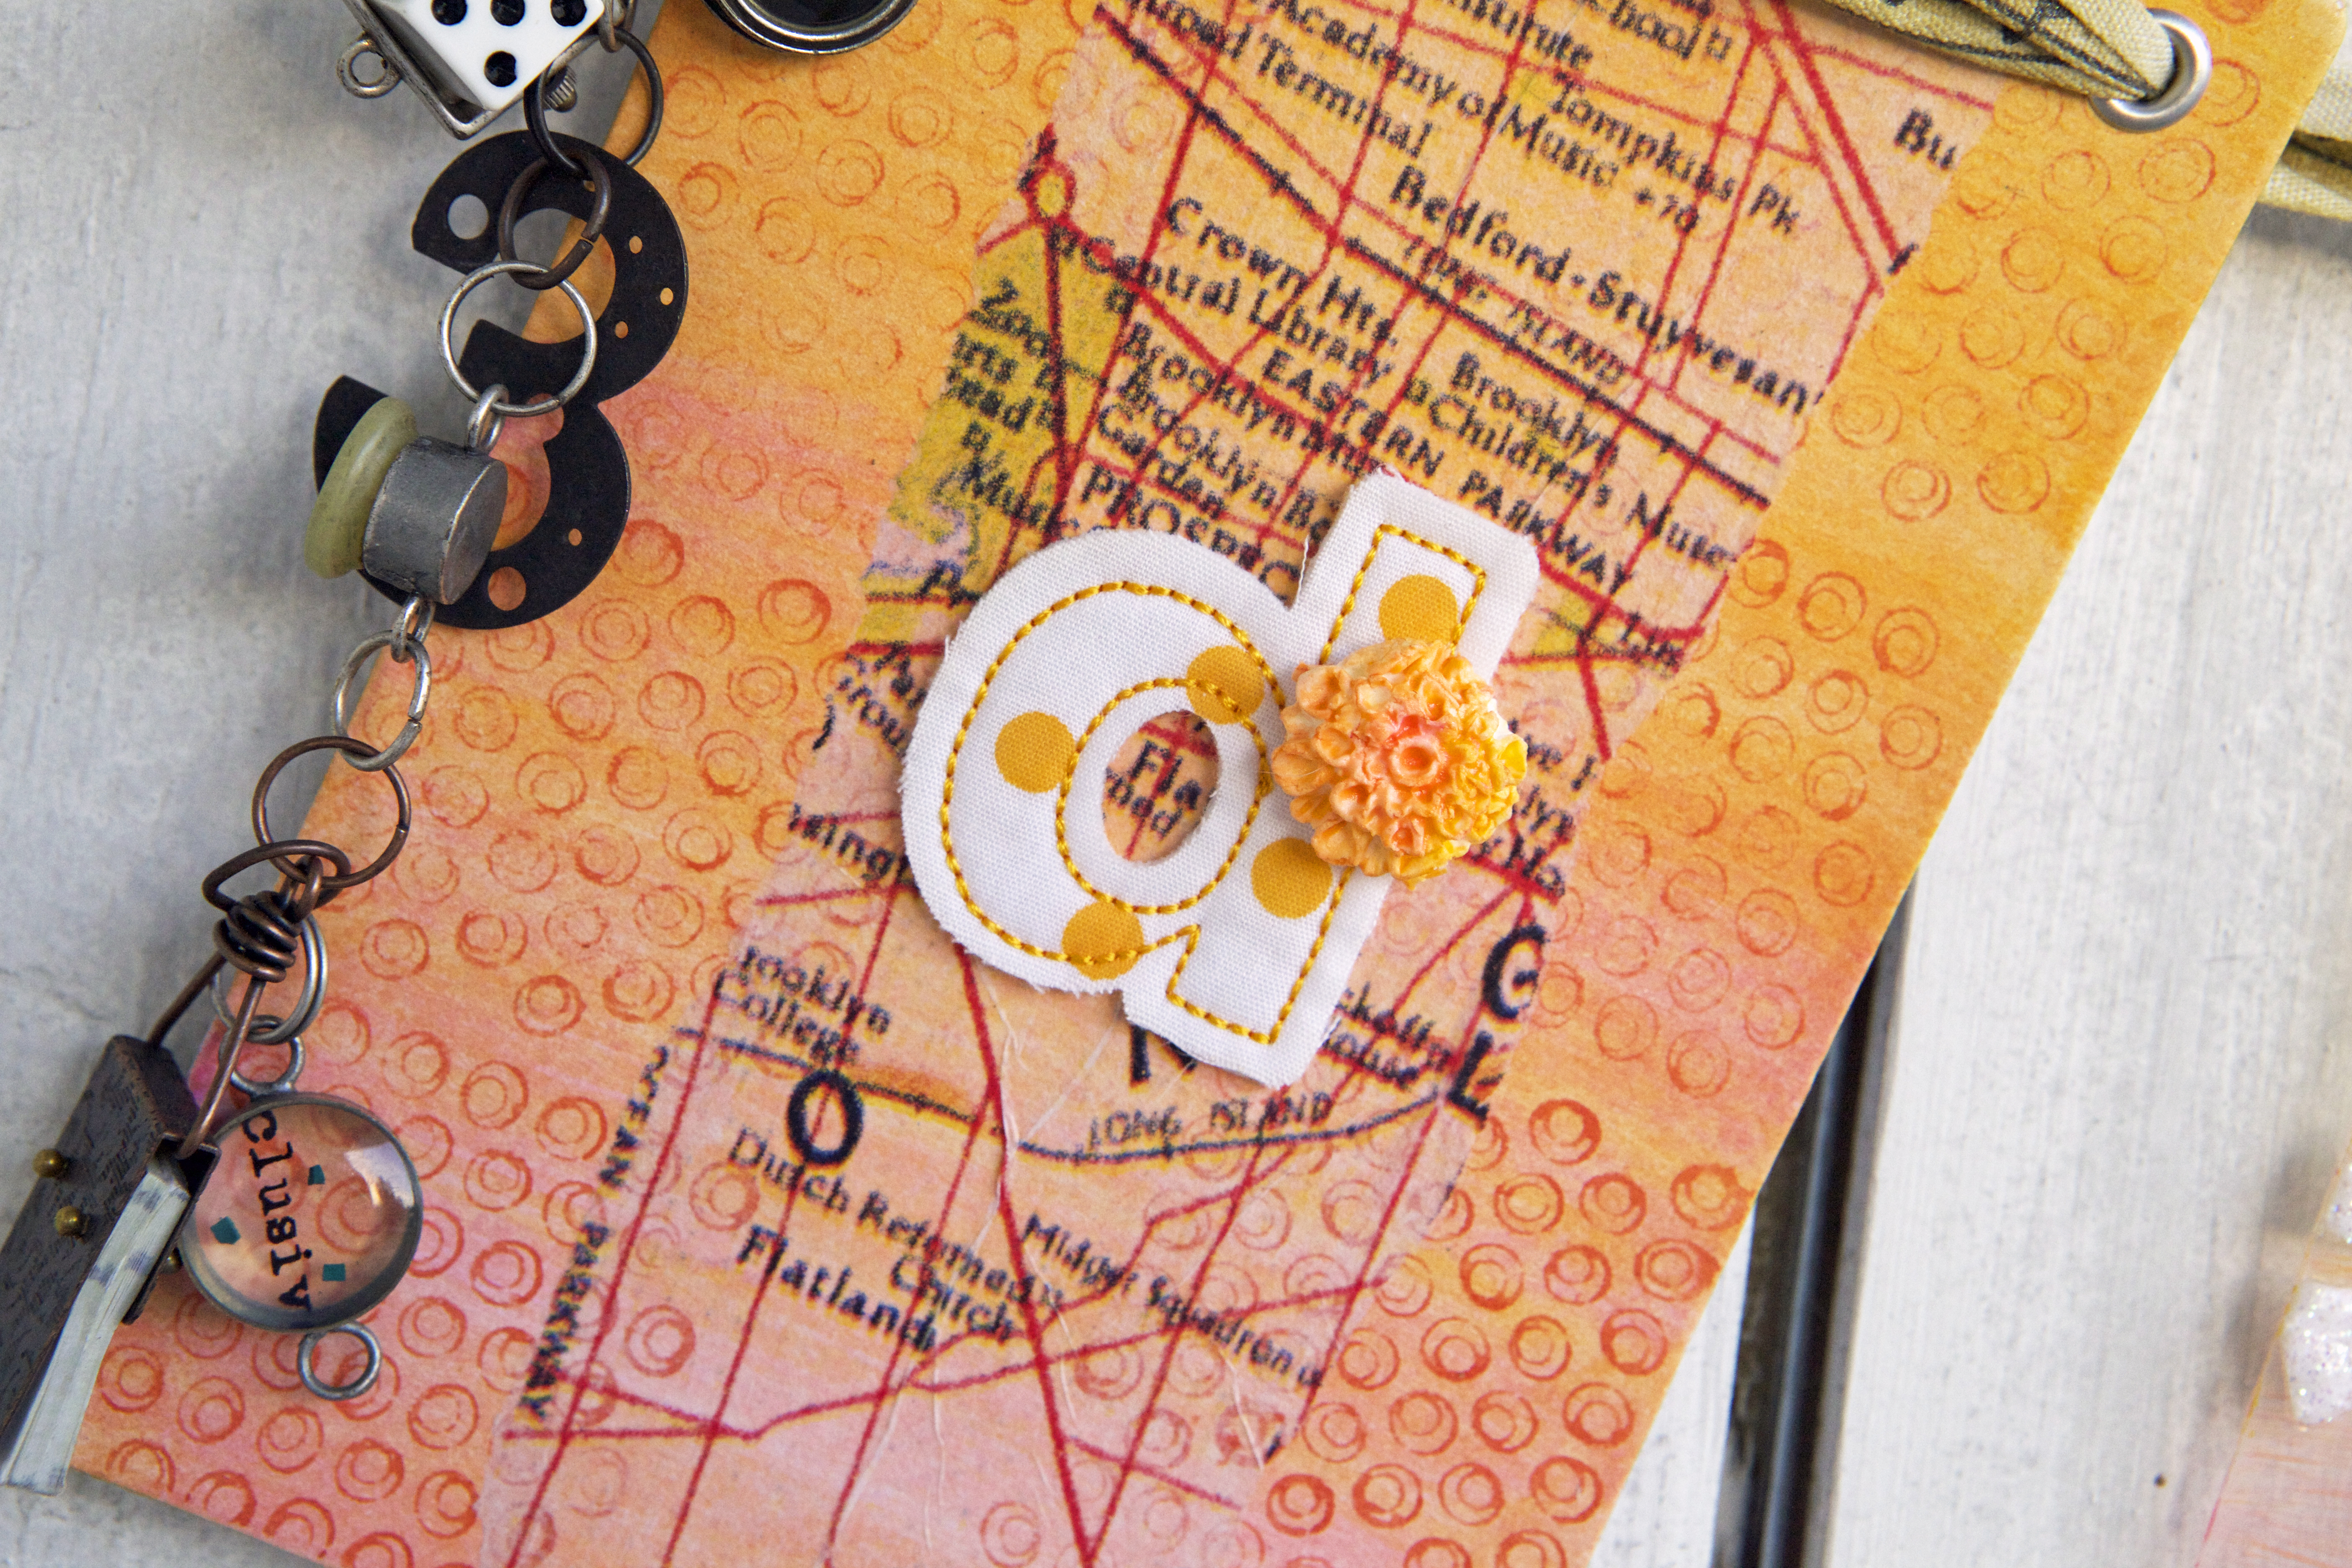
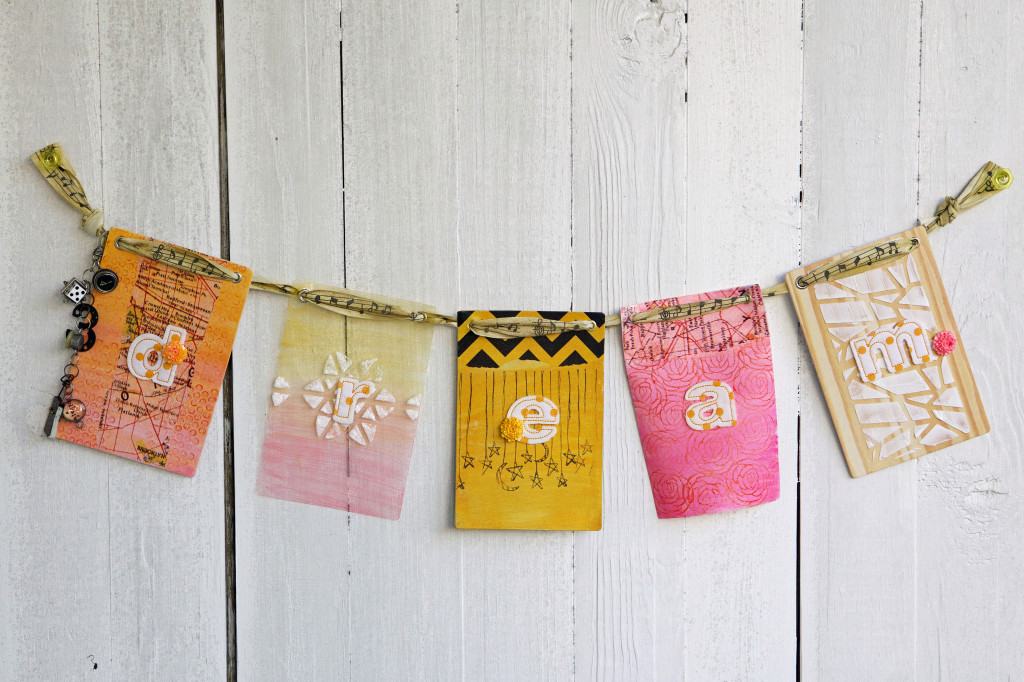
1. Mix Glaze with Gelatos®, paint over Whipped Spackle flowers, allow to dry. Adhere flower to finished project with Gel Medium. The green flower was used to create the mold!
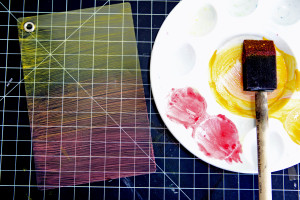
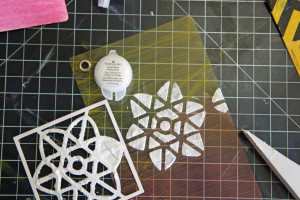
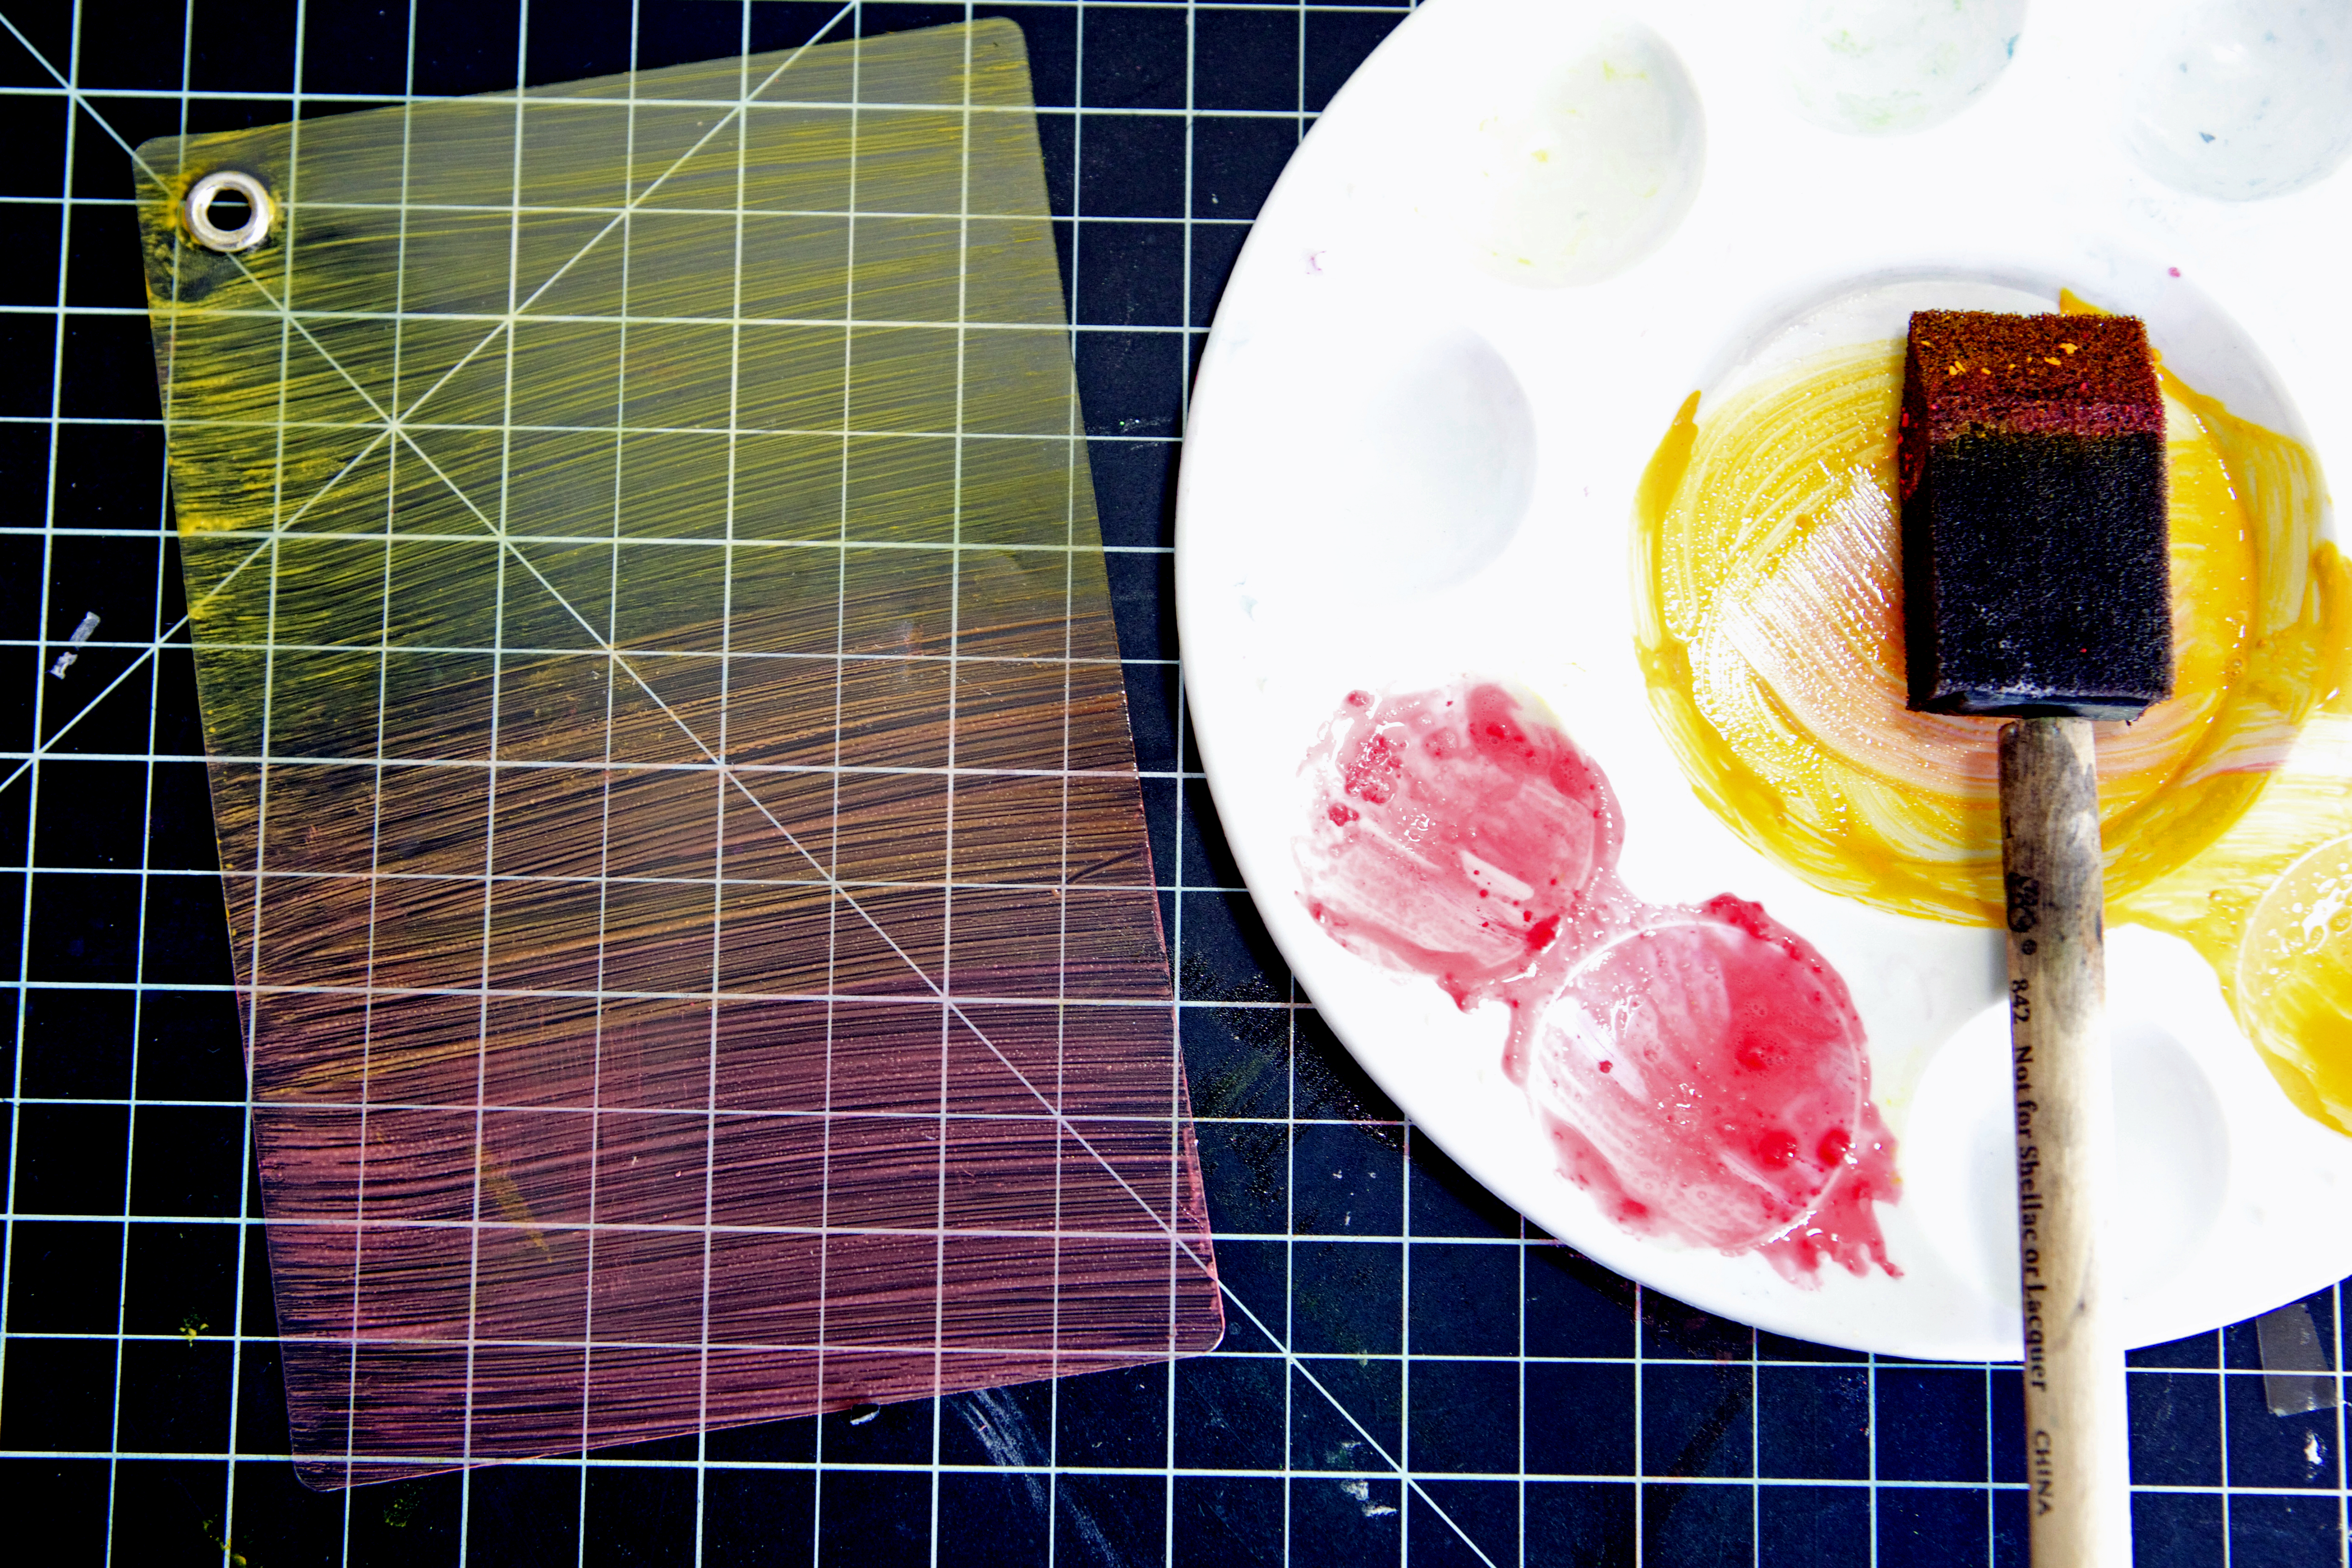
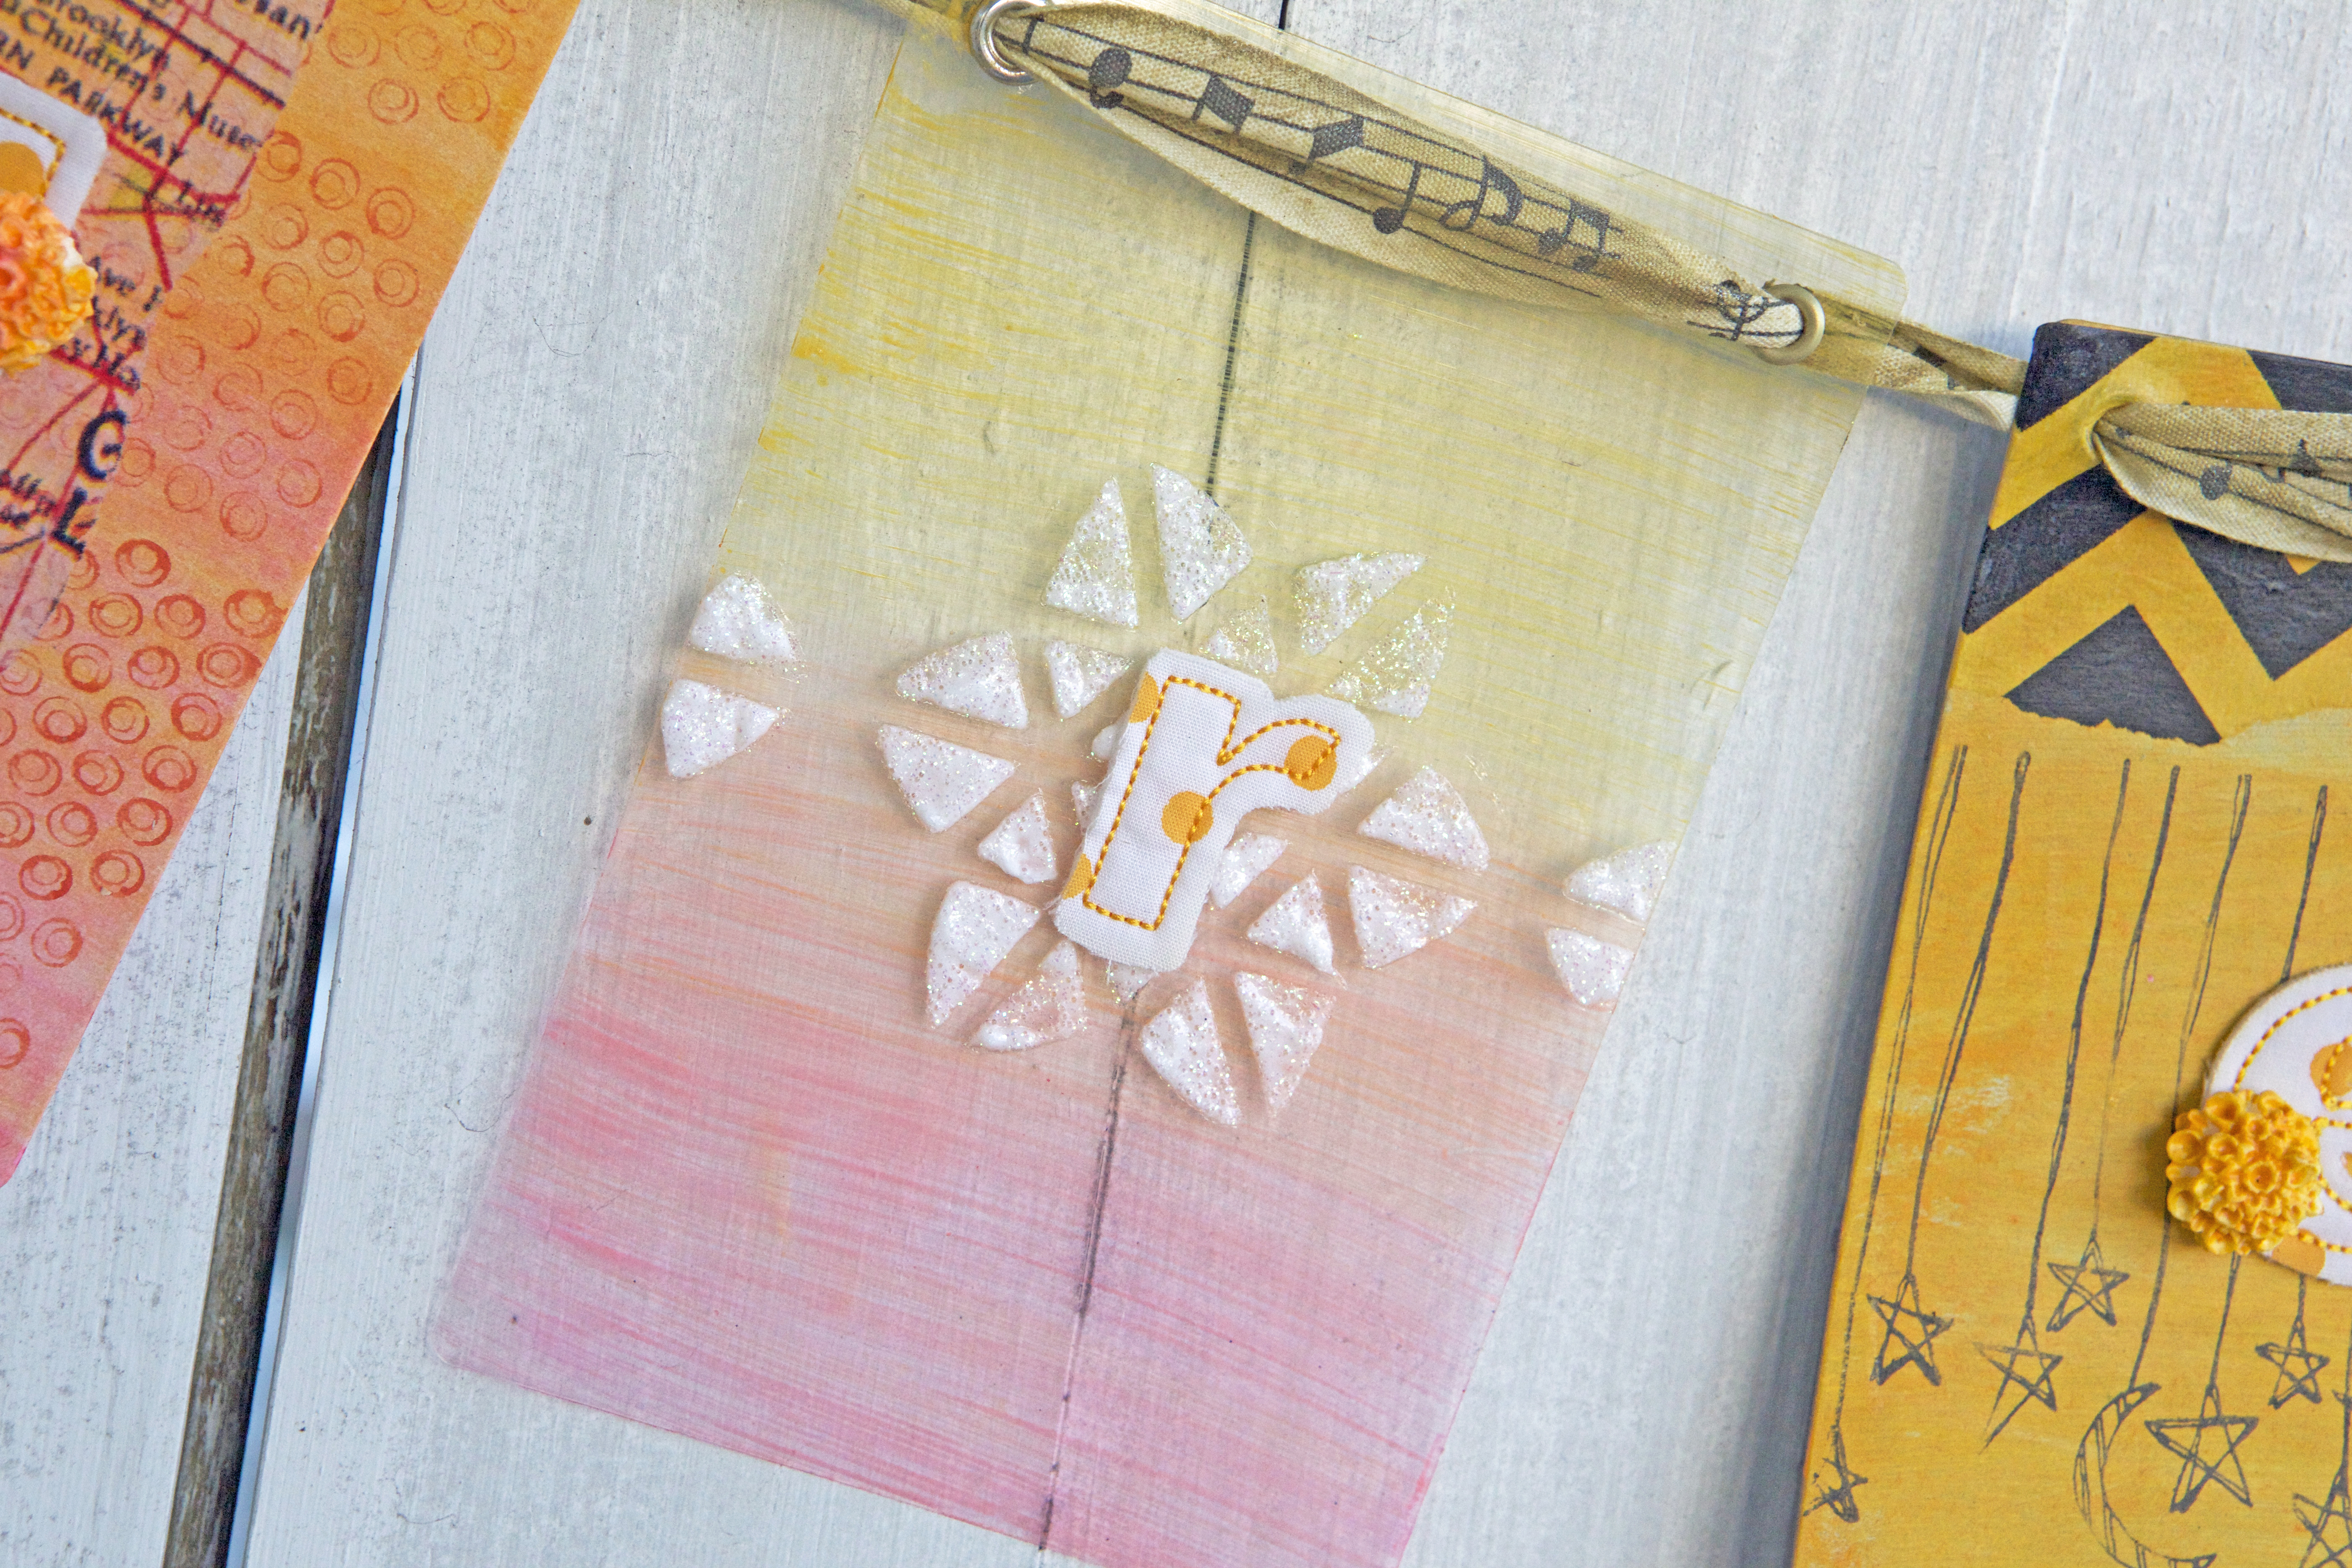
2. Use remaining Glaze/Gelatos® mixture to cover the Acetate. Allow to Dry & then add Glass Bead Gel through a stencil. Allow to dry (my pictures show the product partially dry-the glass bead gel dries clear).
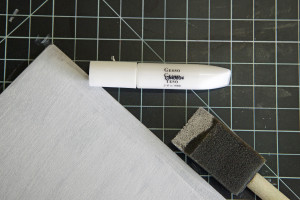


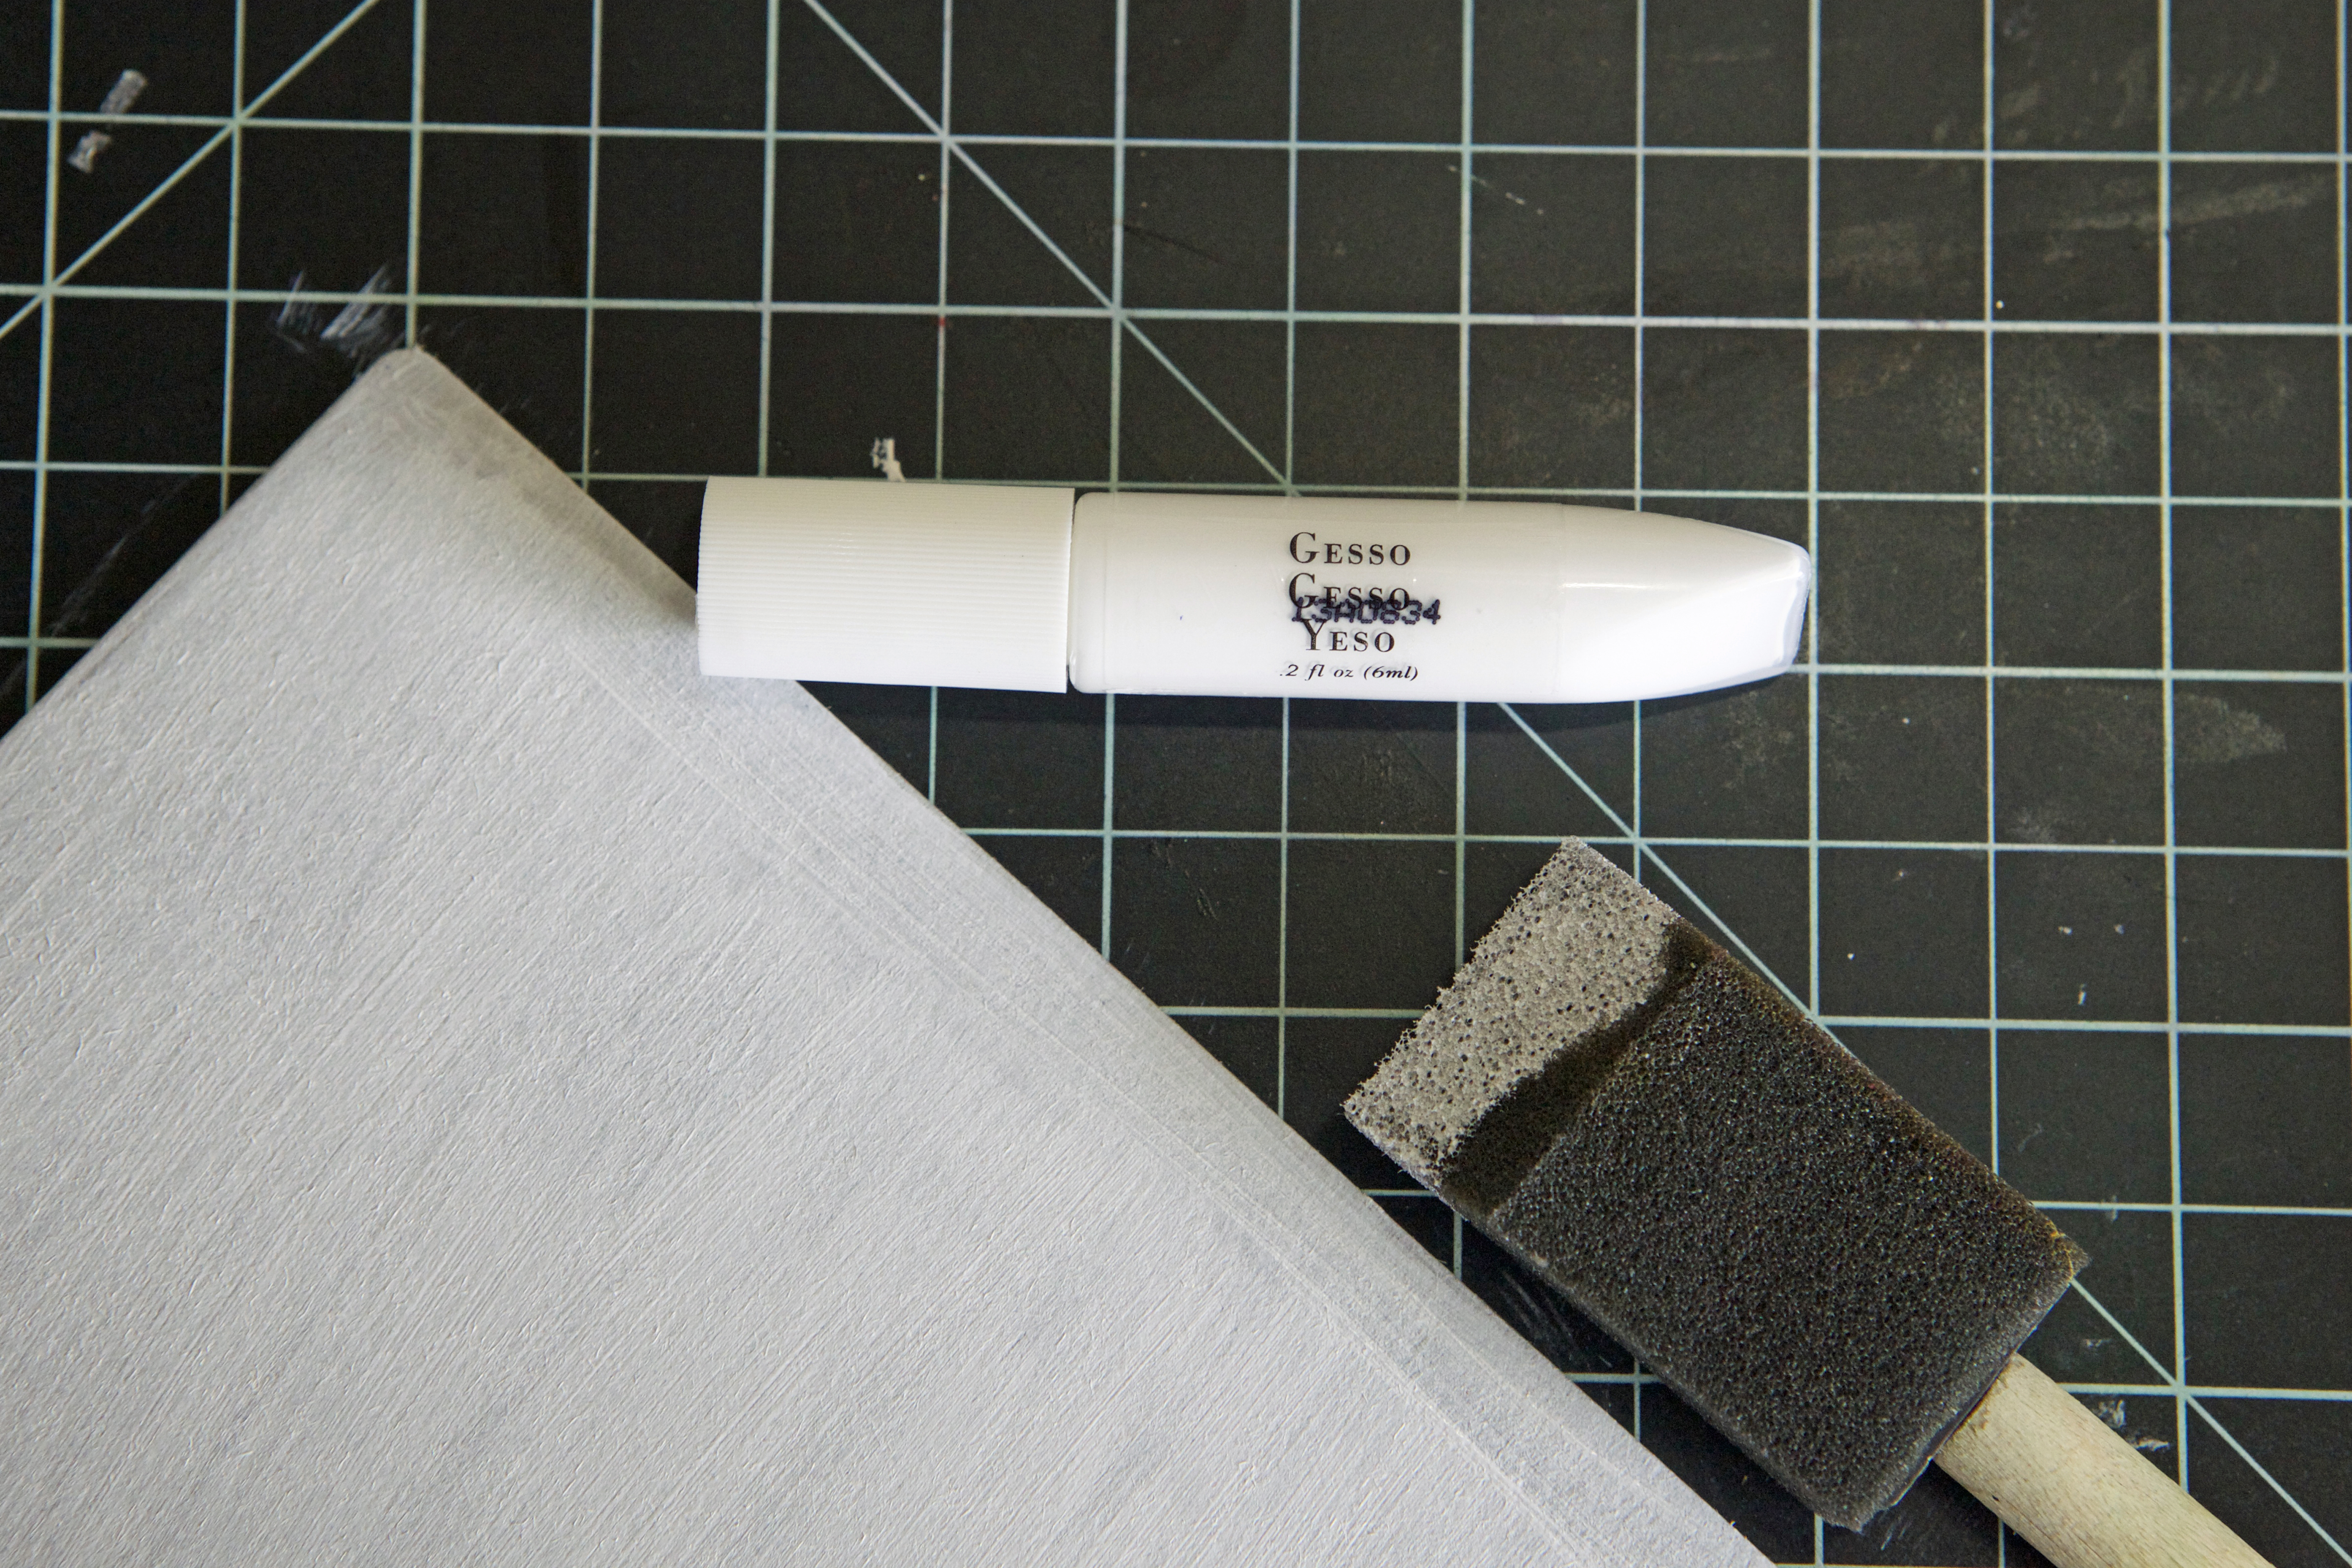
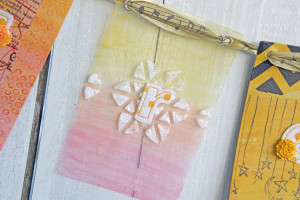
3. Prime the grey board with Gesso, dry, and then color with Gelatos blended with a wet brush. Stamp background with Stamper’s Big Brush Pens & then adhere torn tissue paper with Gel Medium. Allow to dry.

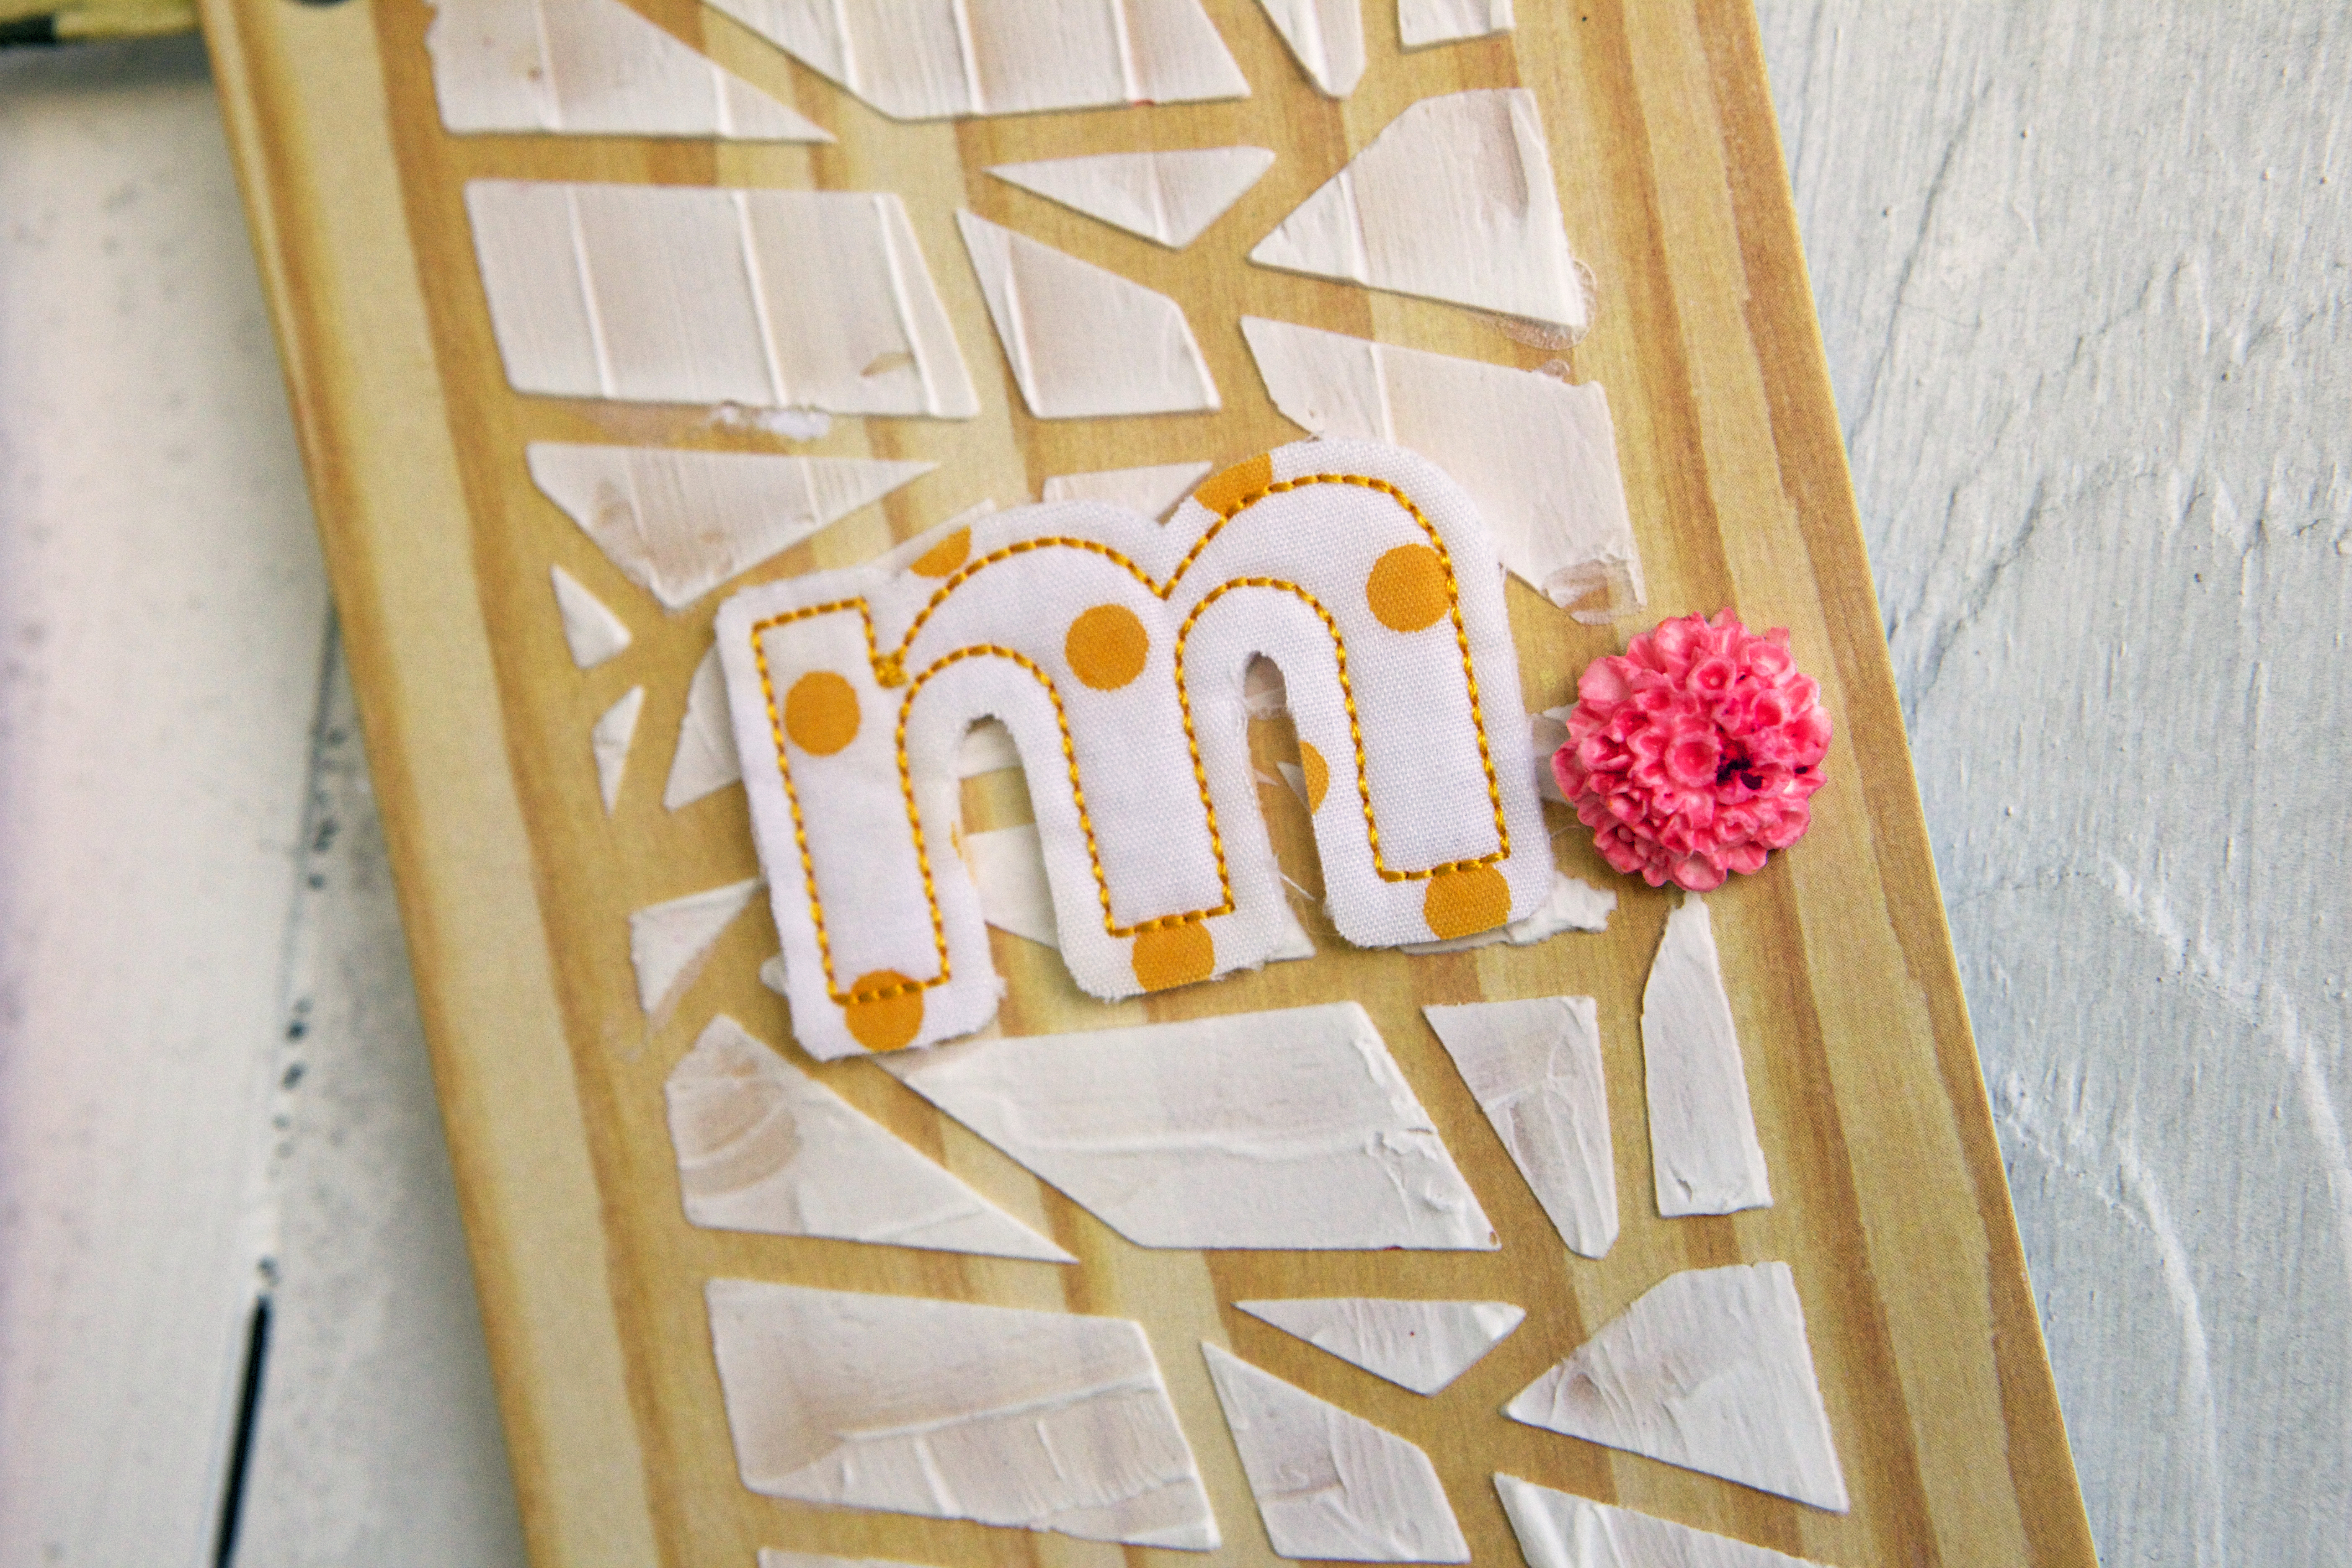
4. The wood board is SO much fun! Simply add remaining Whipped Spackle through a stencil & allow to dry!
So what do you think?! Does that look like something you’d like to try!!!? Once I figured out how to make my embellishments with the Composi Mold, it was FUN! I won’t mention how many times I messed up……I lost count!
Happy Monday,
 Woo-hoo!!! It’s that time! Lawn Fawn’s design team is showcasing the latest and greatest all week long with giveaways!
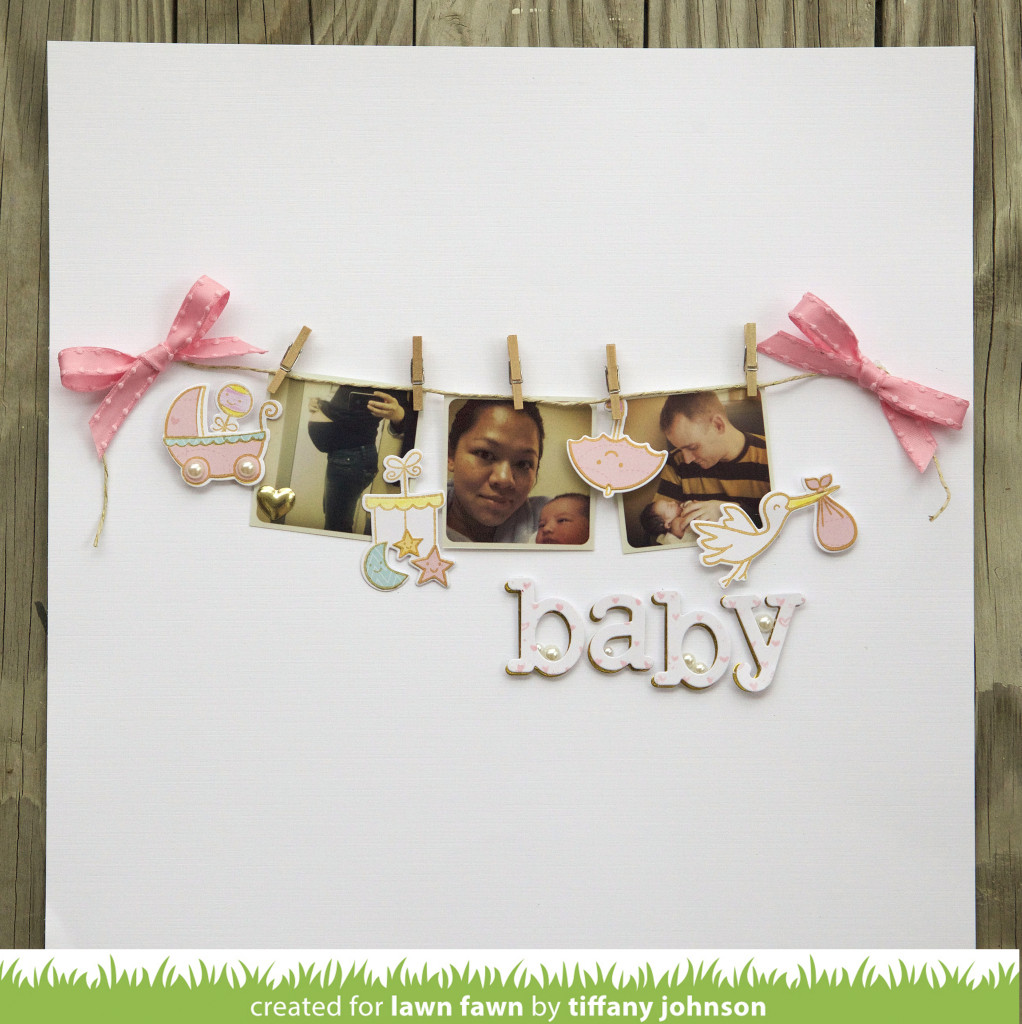
Today, we’re highlighting the Lawn Cuts dies for older stamp sets! I used Plus One & the Plus One Lawn Cuts Dies for my layout I had a ton of fun paper-piecing the images & using pops of gold!
The layout features a photo the night before I went into the hospital to give birth to my youngest! The other two photos were instagrammed right after I gave birth <3
Hope you’ll check out the rest of the Design Team!
Thanks for stopping by,
Materials: Lawn Fawn (Plus One Stamp Set, Plus One Lawn Cuts Dies, Louie’s ABCs Stamp Set, Hello Sunshine Patterned Paper, Gold Sparkle Single Cord, Teeny Tiny Backdrops Stamp Set), Delicata Golden Glitz Ink, Faber-Castell® Design Memory Craft® Art Grip Colored Pencils, Scrapbook Adhesives by 3L® (3D Foam squares regular-white, 3D Foam squares small-white, Dodz Medium), May Arts Ribbon
 Hey Fellow Fawnies!
Lawn Fawn & May Arts have teamed up for a week of inspiration! I hope you’ll check out my Video Tutorial up on the Lawn Fawn Blog as well as the other design team creations
Have Fun Day,
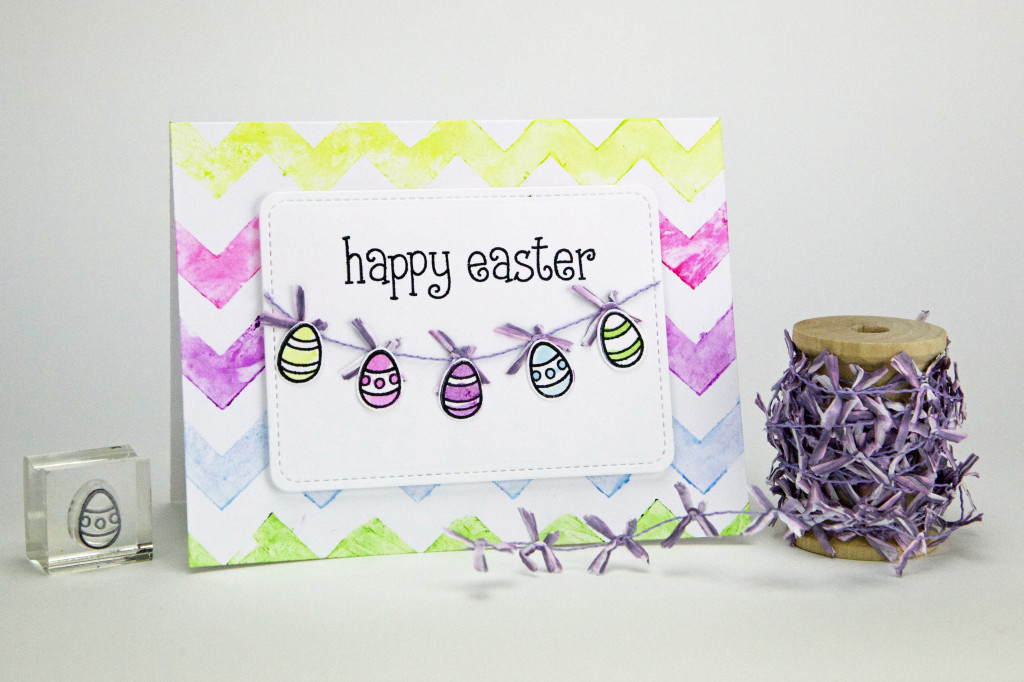
 Remember this card!!!? Well, guess what!? I made a video tutorial for you and it’s up on the Scrapbook Adhesives by 3L Crafty Power Blog!
Match-made in heaven: Lawn Fawn, May Arts Ribbon, and Scrapbook Adhesives by 3L.
I hope you get a chance to leave some love!