Hello Blogosphere!
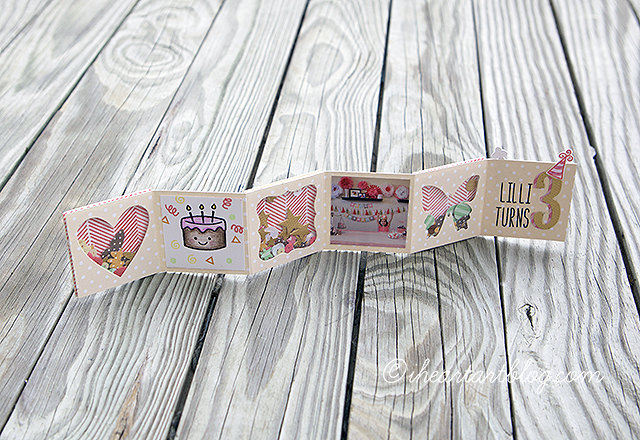
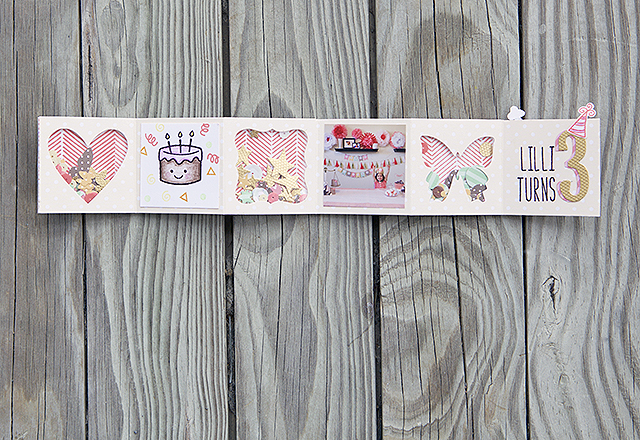
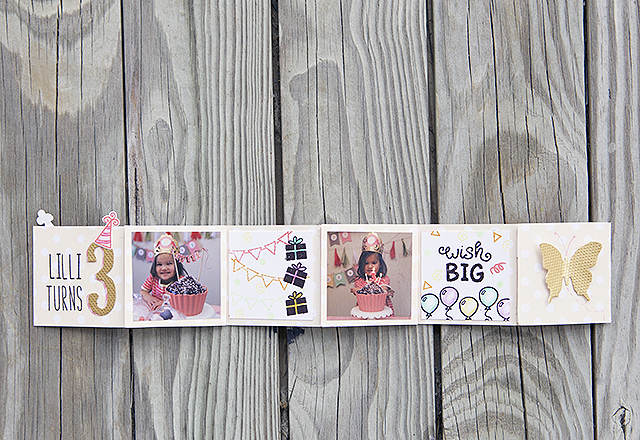
I have a NEW VIDEO TUTORIAL to share with you today! I’ll be showing you how to create a Mini Shaker Album using the Sizzix Bigz XL Mini, Heart Album Die & your very own confetti with some cute Sizzix Sizzlits Decorative Strip Dies (Butterfly Frenzy & Confetti)! Pair that with with Lawn Fawn Let’s Polka, Mon Amie & you have an ultra-cute Mini Album of your own! This one features pictures from my daughter’s 3rd Birthday!
The Shaker Front:
Matching Back:
I hope you enjoyed this Video Tutorial! I took a little break from Sizzix Design Team responsibilities, but I’m back at it in full-swing! I look forward to bringing you more ideas using Sizzix products!

Materials Used: Sizzix Bigz XL Mini, Heart Album Die, Sizzix Bigz XL Alphabet Die, Word Play, Sizzix Sizzlits Decorative Strip Butterfly Frenzy Die, Sizzix Sizzlits Decorative Strip Confetti Die, Sizzix Thinlits Die Set 3PK – Stars, Sizzix Vagabond Machine, Sizzix Accessory – Cutting Pads – Extended, Sizzix Accessory – Standard Magnetic Cutting Platform for wafer-thin dies, Sizzix Accessory – Solo Platform/Shim
Lawn Fawn Let’s Polka, Mon Amie Vanilla Polka 12″ x 12″, Let’s Polka, Mon Amie Petite Paper Pack 6″ x 6″, Birthday Tags Stamp Set, So Much To Say Stamp Set, Milo’s ABCs Stamp Set, Interlocking Backdrops Stamp Set, Year Three Stamp Set, Black Licorice Ink Pad, Wild Rose Ink Pad
Scrapbook Adhesives by 3L® (3D Foam Squares – White, Regular, E-Z® Dots Permanent Refillable)
Faber-Castell® Design Memory Craft® Art GRIP®Color Pencils (109, 119, 176, 162)
Other (Recollections Gold Cardstock, Scissors, Clear Overlay)
 Happy Easter Blogosphere!
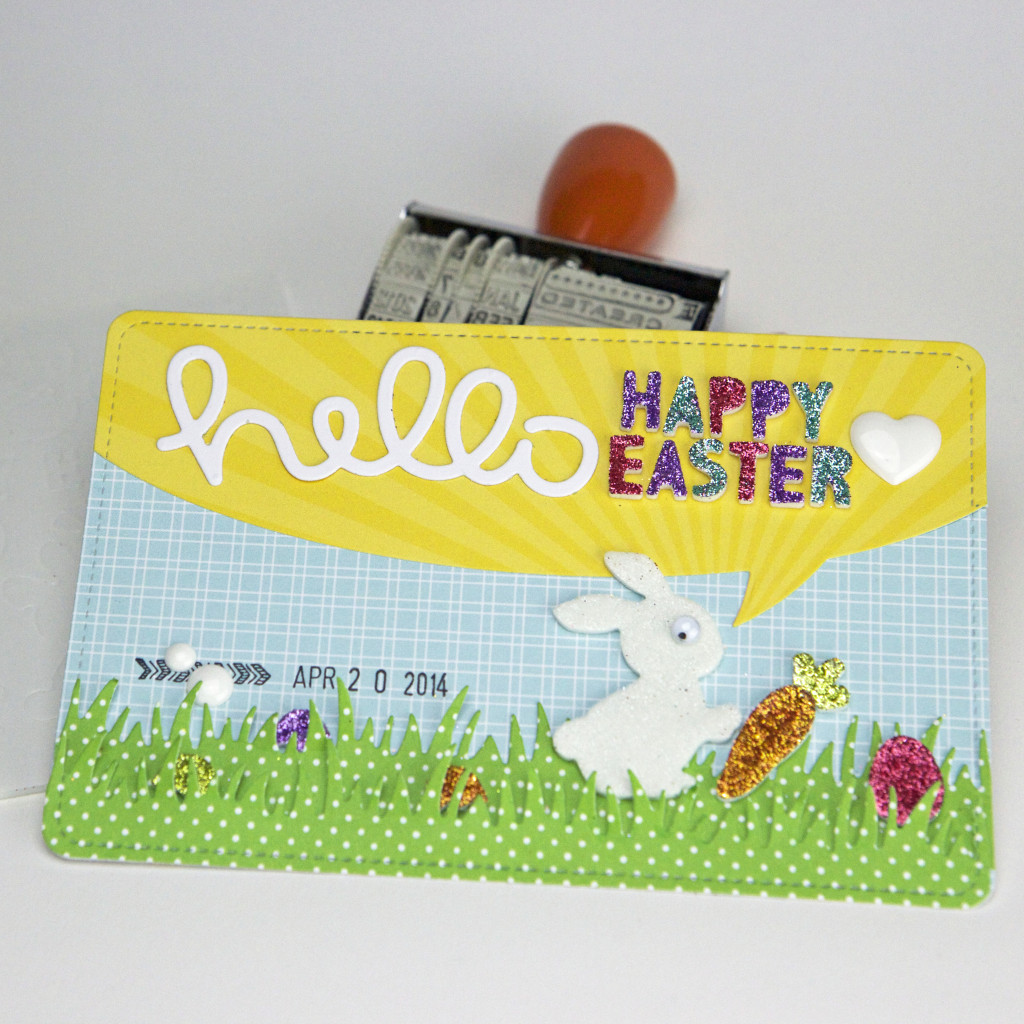
I’ve gotten a head start on my Pocket Scrapbooking/Project Life week for Easter with this fun card using Scrapbook Adhesives by 3L (3D Foam Easter Shapes) & Lawn Fawn! I even have a Video Tutorial for ya! Just click on the picture or go HERE to see the full post on The Crafty Power Blog!
Thanks for Hopping By,
Hello Blogosphere!
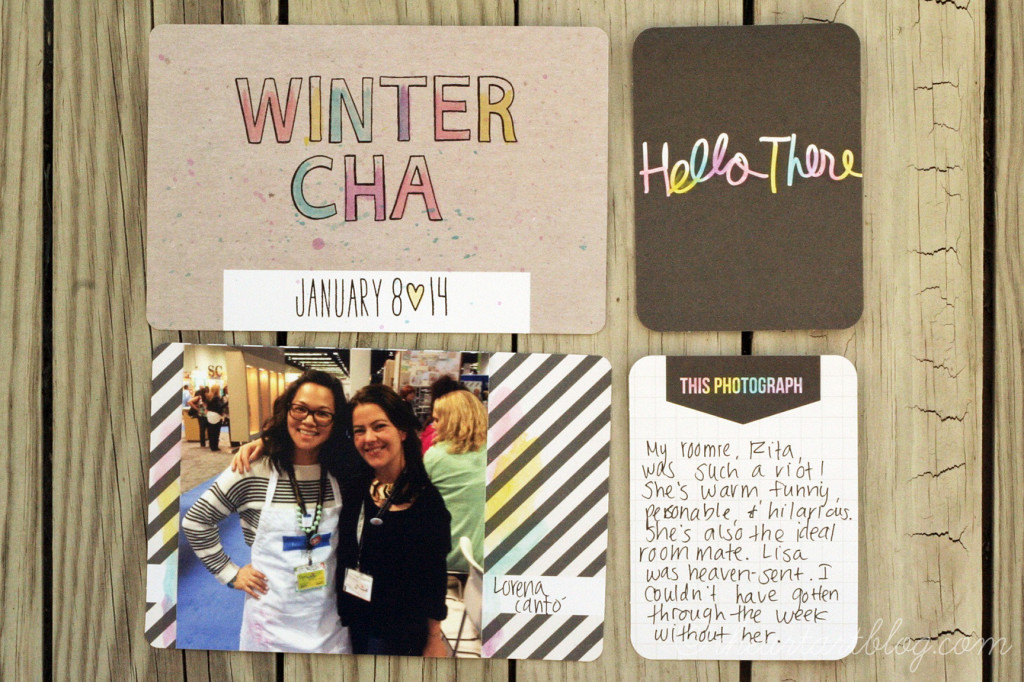
I thought I’d share some cards I created for my Project Life Album. I use the Midnight Edition, which has lots of black & white with pops of yellow. Well, for my Winter CHA 2014 week, I wanted MORE color! So, I pulled out my handy dandy Gelatos® by Faber-Castell Design Memory Craft and set to work.
All you need to do to add color with Gelatos® is have a little cup of water, a fine paintbrush, and a plan! I add color by first dipping my brush in water and then I take color directly from the tip of the Gelato. You can control the intensity of color by adding more or using less water on your paintbrush.
Here are the techniques I used (from top left clockwise):
1) Stamp title using Staz-on or The Stamper’s Big Brush Marker, paint each letter starting at the bottom to create an hombre effect, and then finish it off with some paint splatter.
2) Color each letter in a different color blending as you go. The cardstock does not bleed or tear!
3) Create a watery or ethereal effect by creating pools of color with a very damp brush and Gelatos® of choice.
4) Same as card #2!
Here’s my complete layout:
 My approach to Project Life is simple. KEEP IT SIMPLE & get it done!
Thanks for dropping by,
Materials Used: Faber-Castell Design Memory Craft Tropical Gelatos®, Stamper’s Big Brush Marker Black, & Collapsible Water Cup, Project Life Midnight Edition & Album, Lawn Fawn Stamps (Milo’s ABCs, Quinn’s Capitals, 4×6 stitched die which will release next month), Elle’s Studio Lil Snippets, Washi Tape

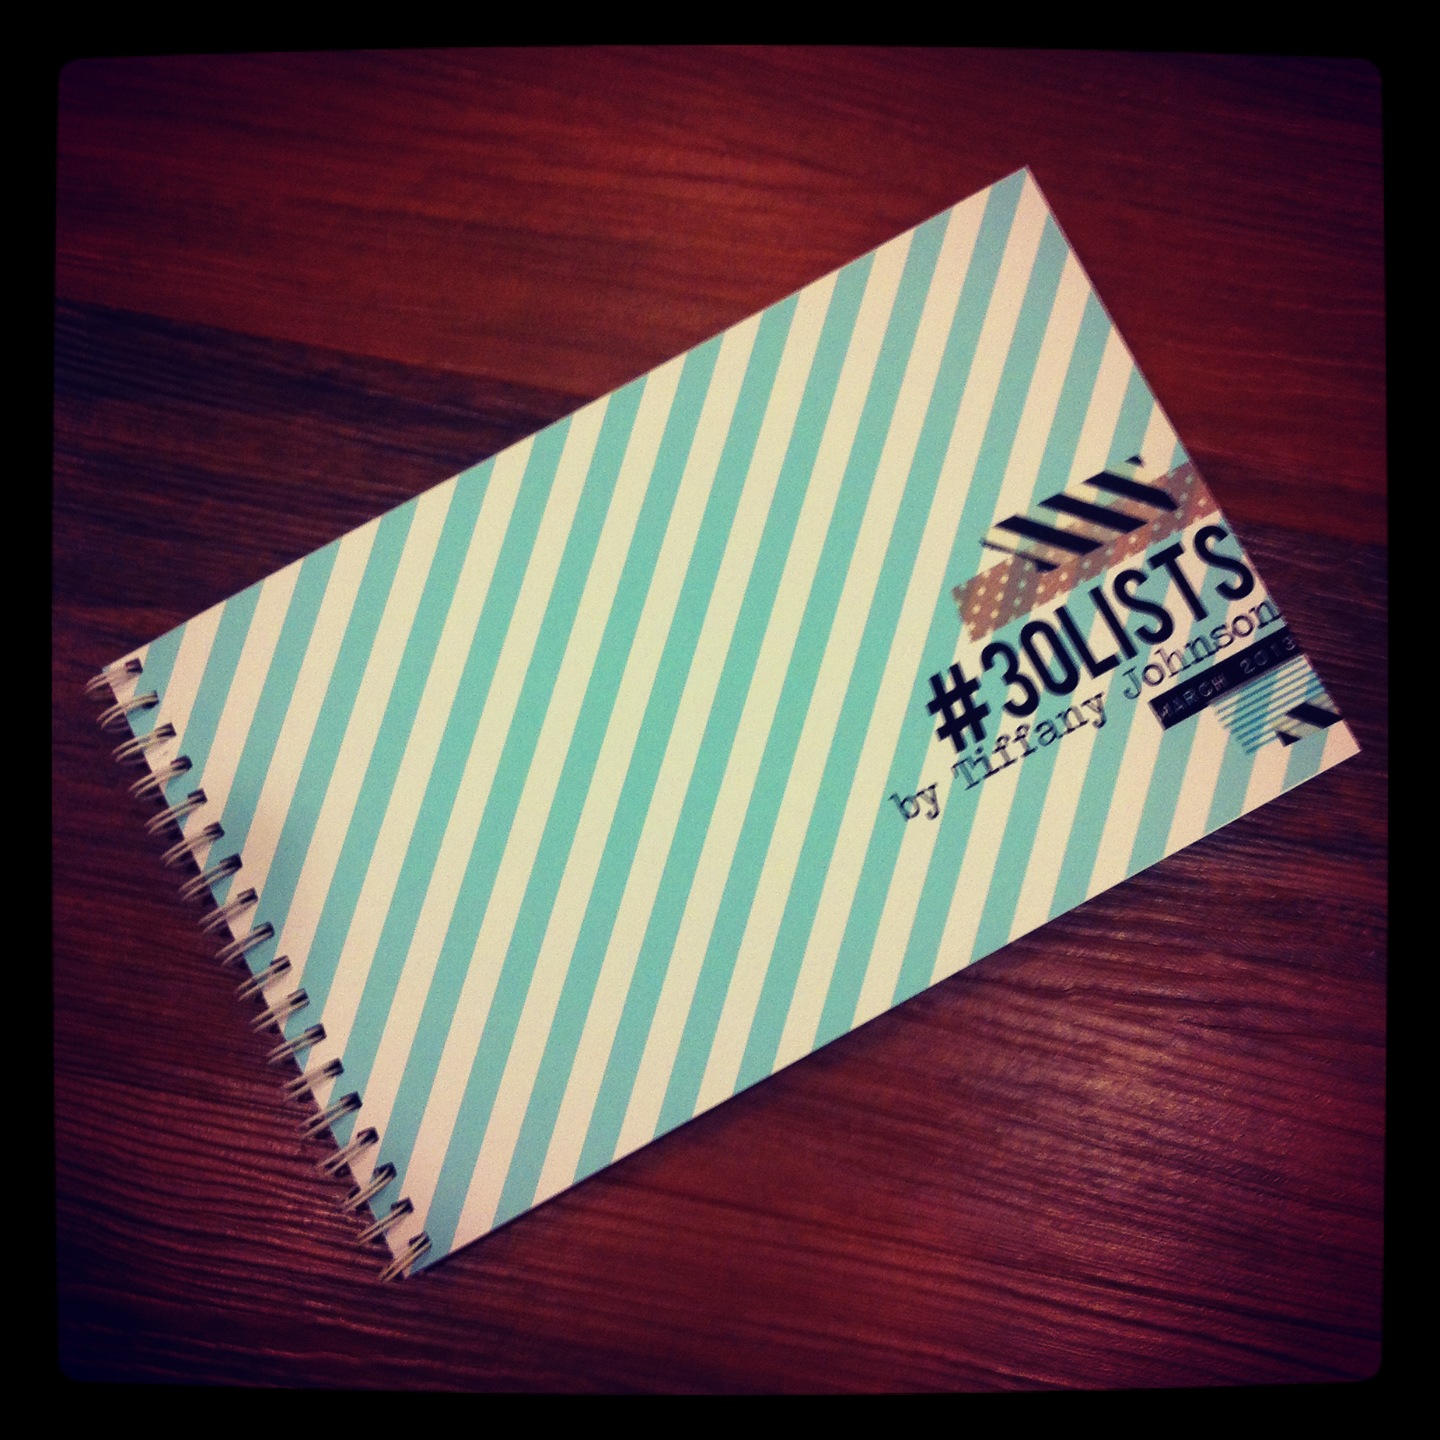
Cover
So, you might be thinking…
What is 30 Days of Lists?
To sum it up, not everyone has a way to journal or scrapbook every day. But, they may find that they have just enough time to create a list. 30 Days of Lists brings you daily prompts to get started. Then, you just list your response! You can choose to list in a beautiful art journal or on a collection of post-its- it’s what you want it to be! Or, simply what you have time for it to be! They have a self-paced edition for just $5!
EASY PEASY!
So here’s my approach…
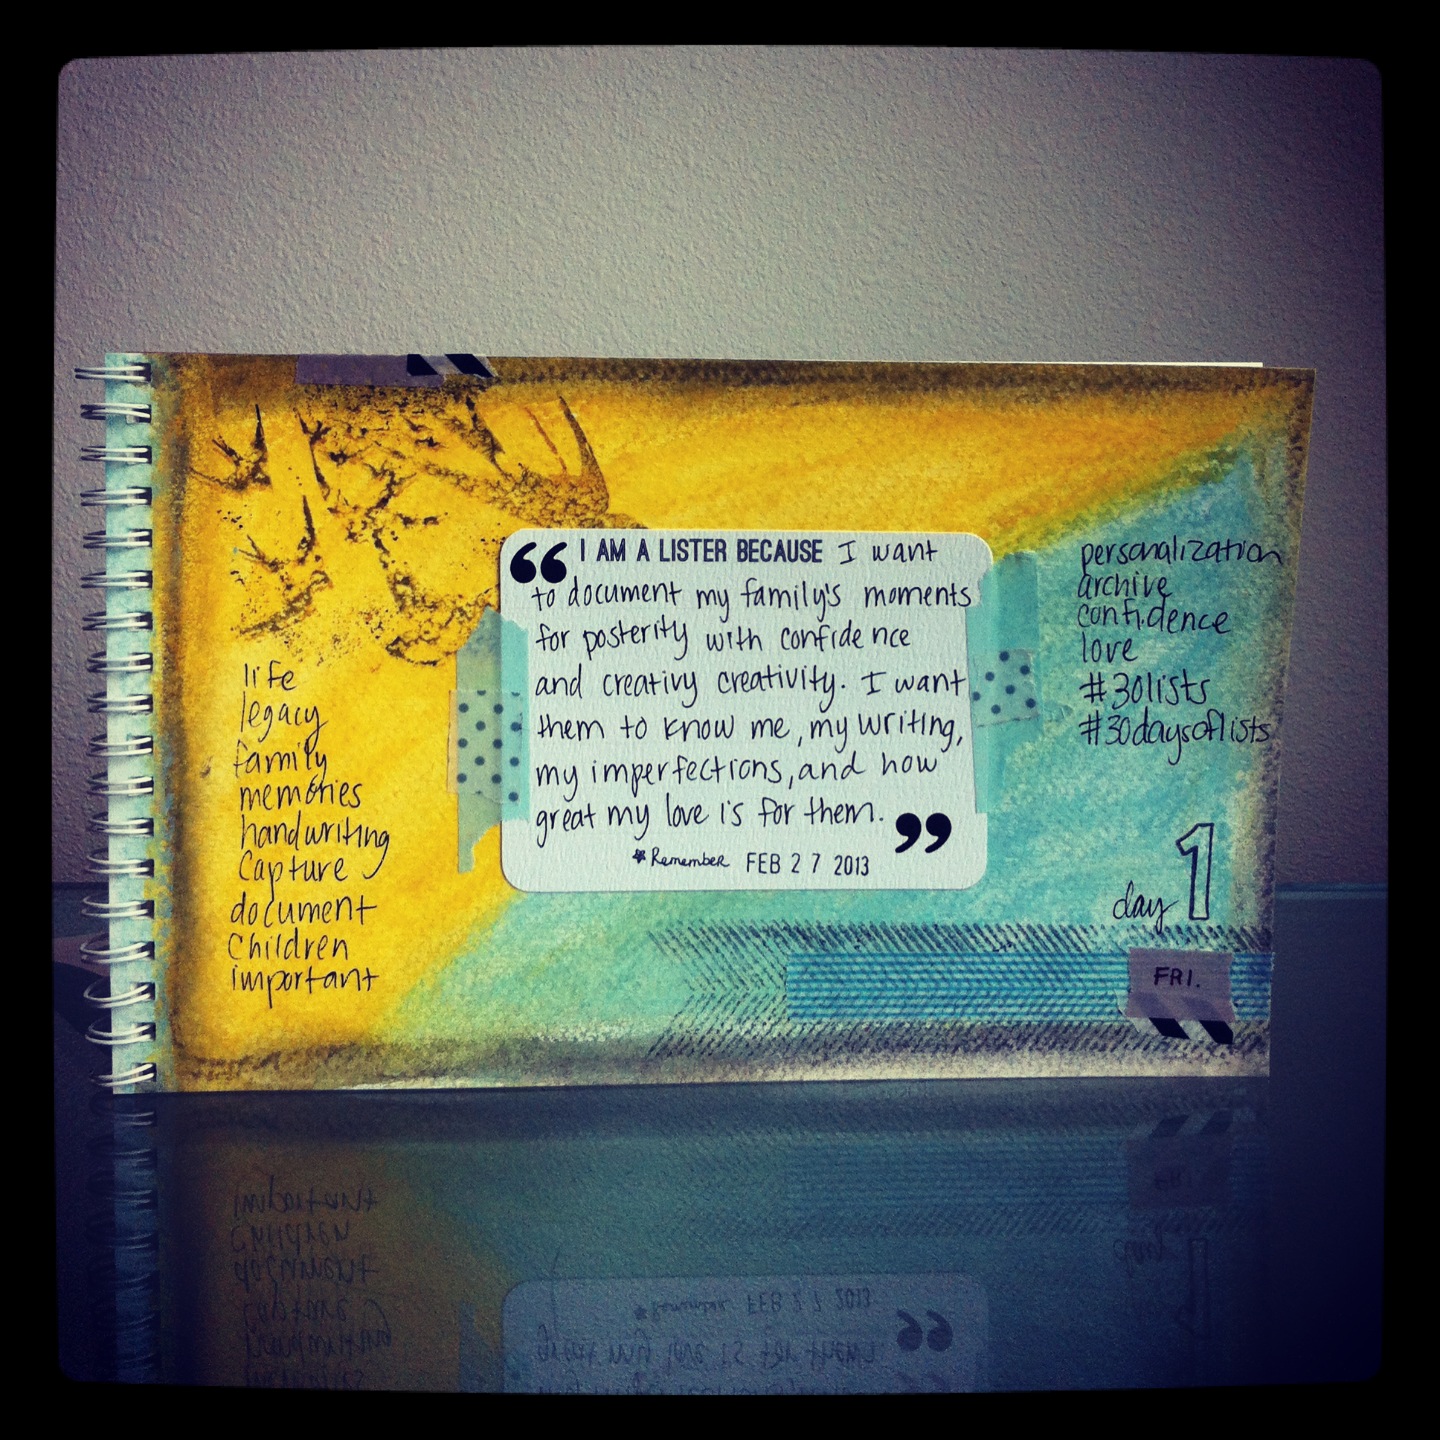
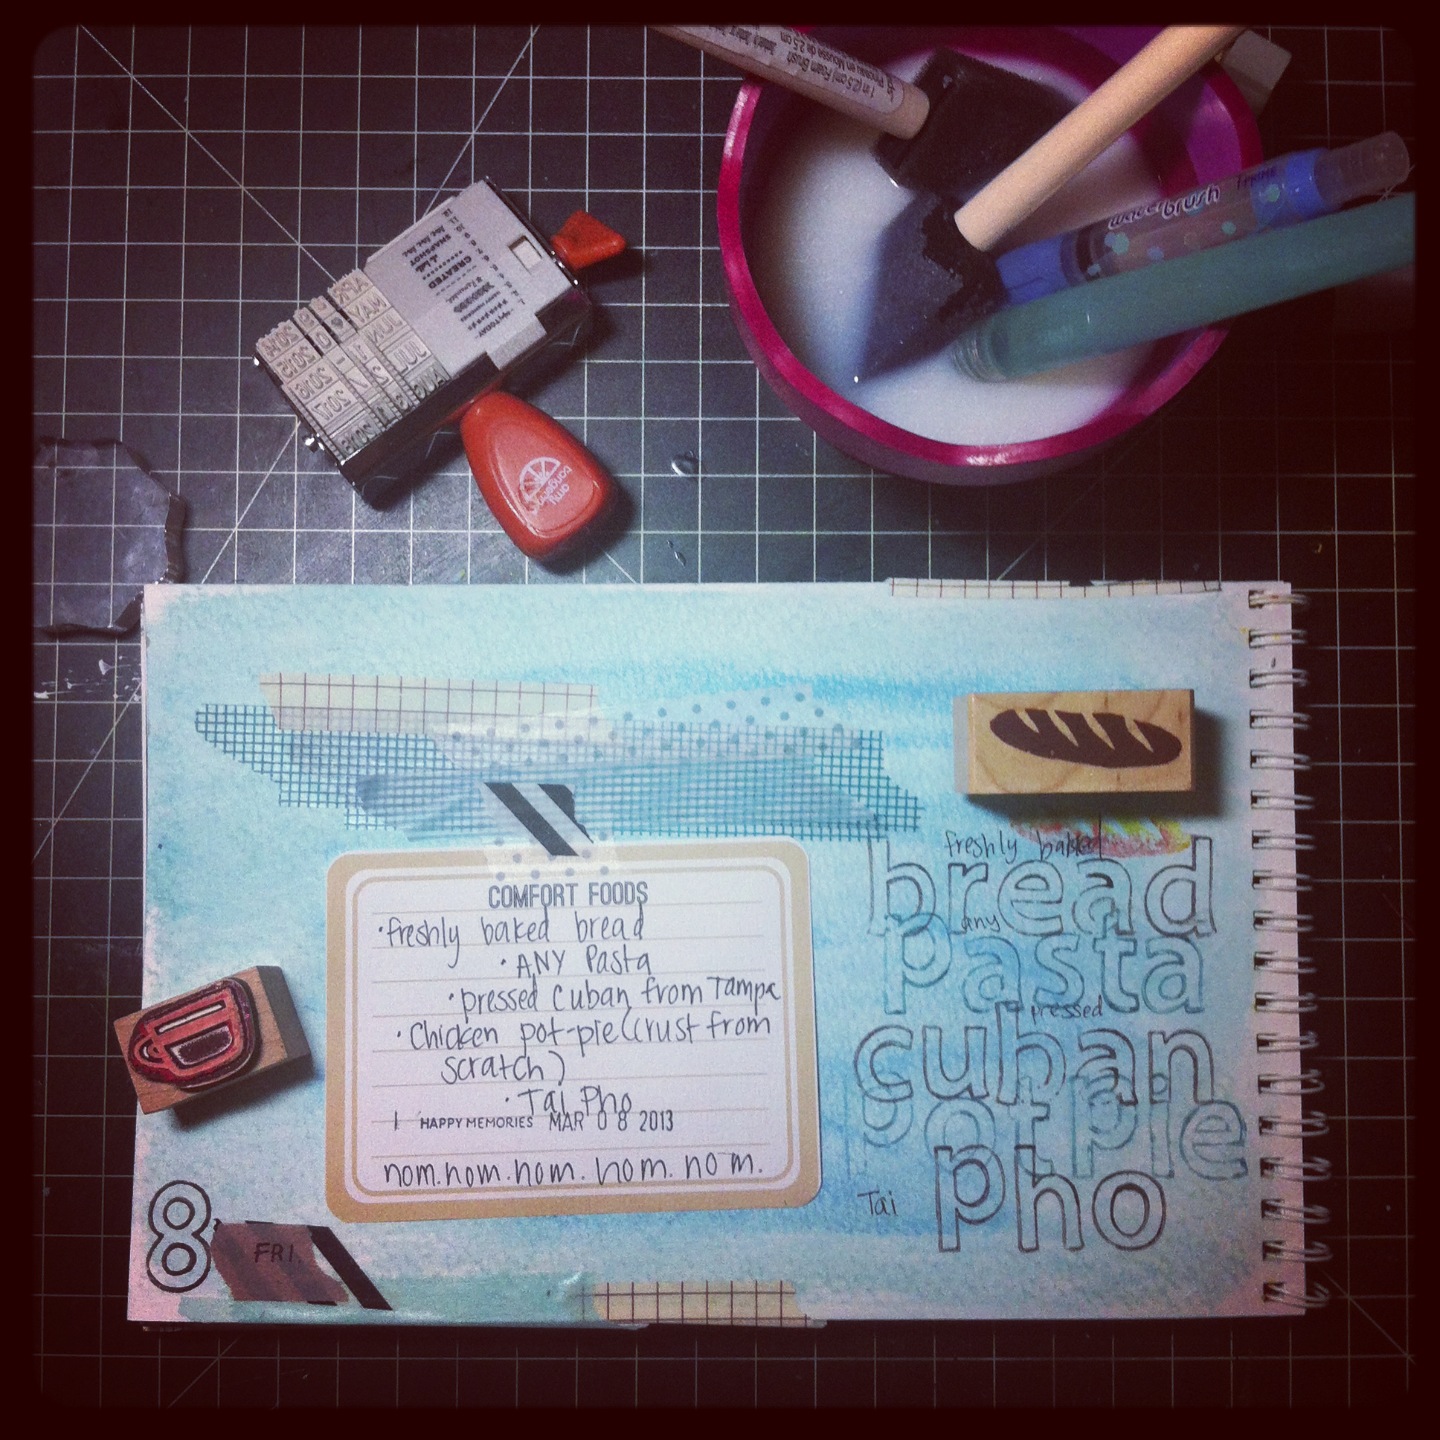
I usually sketch my design work in these Strathmore Watercolor notebooks. I LOVE that the paper can stand up to any and all mediums and that they’re spiral-bound, meaning no idea gets lost. To incorporate my sketchbook, I decided to print out Project Life journaling cards (Seafoam Edition) that match my Project Life: Deployment Edition scrapbook, and adhere them to the inside of the blank journal with washi tape. Every evening, I dedicate 15 minutes or so to creating a mixed-media something or another on a page & then I add the prompt card of that day with my list on it! Eventually, I’ll incorporate the journaling cards with my Project Life scrapbook  AND, I’ll have an awesome art journal to add to afterward too! Nothing a little Gesso can’t fix 😉
Here are some of my pages:

I am a lister because…
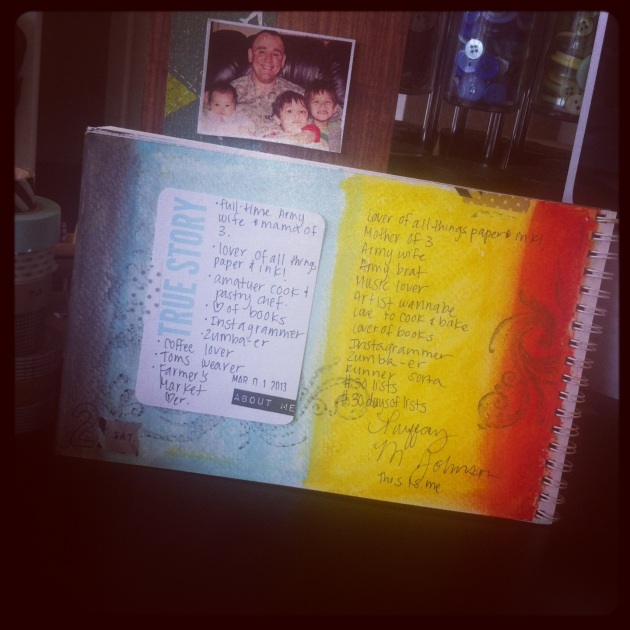
About Me
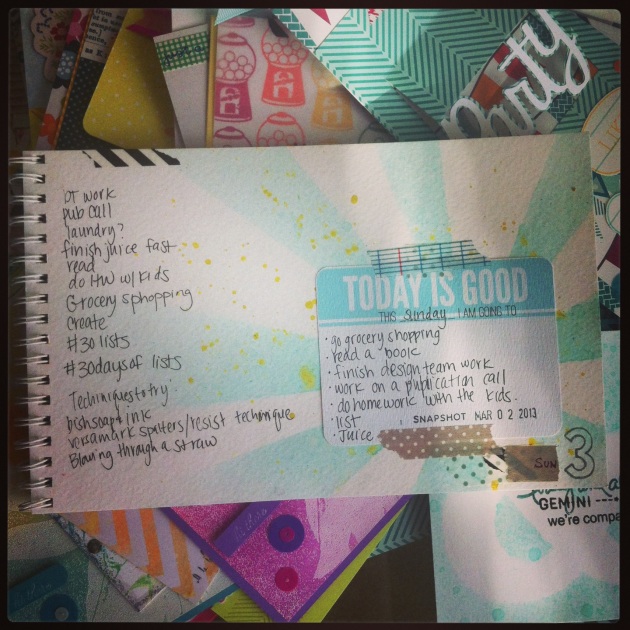
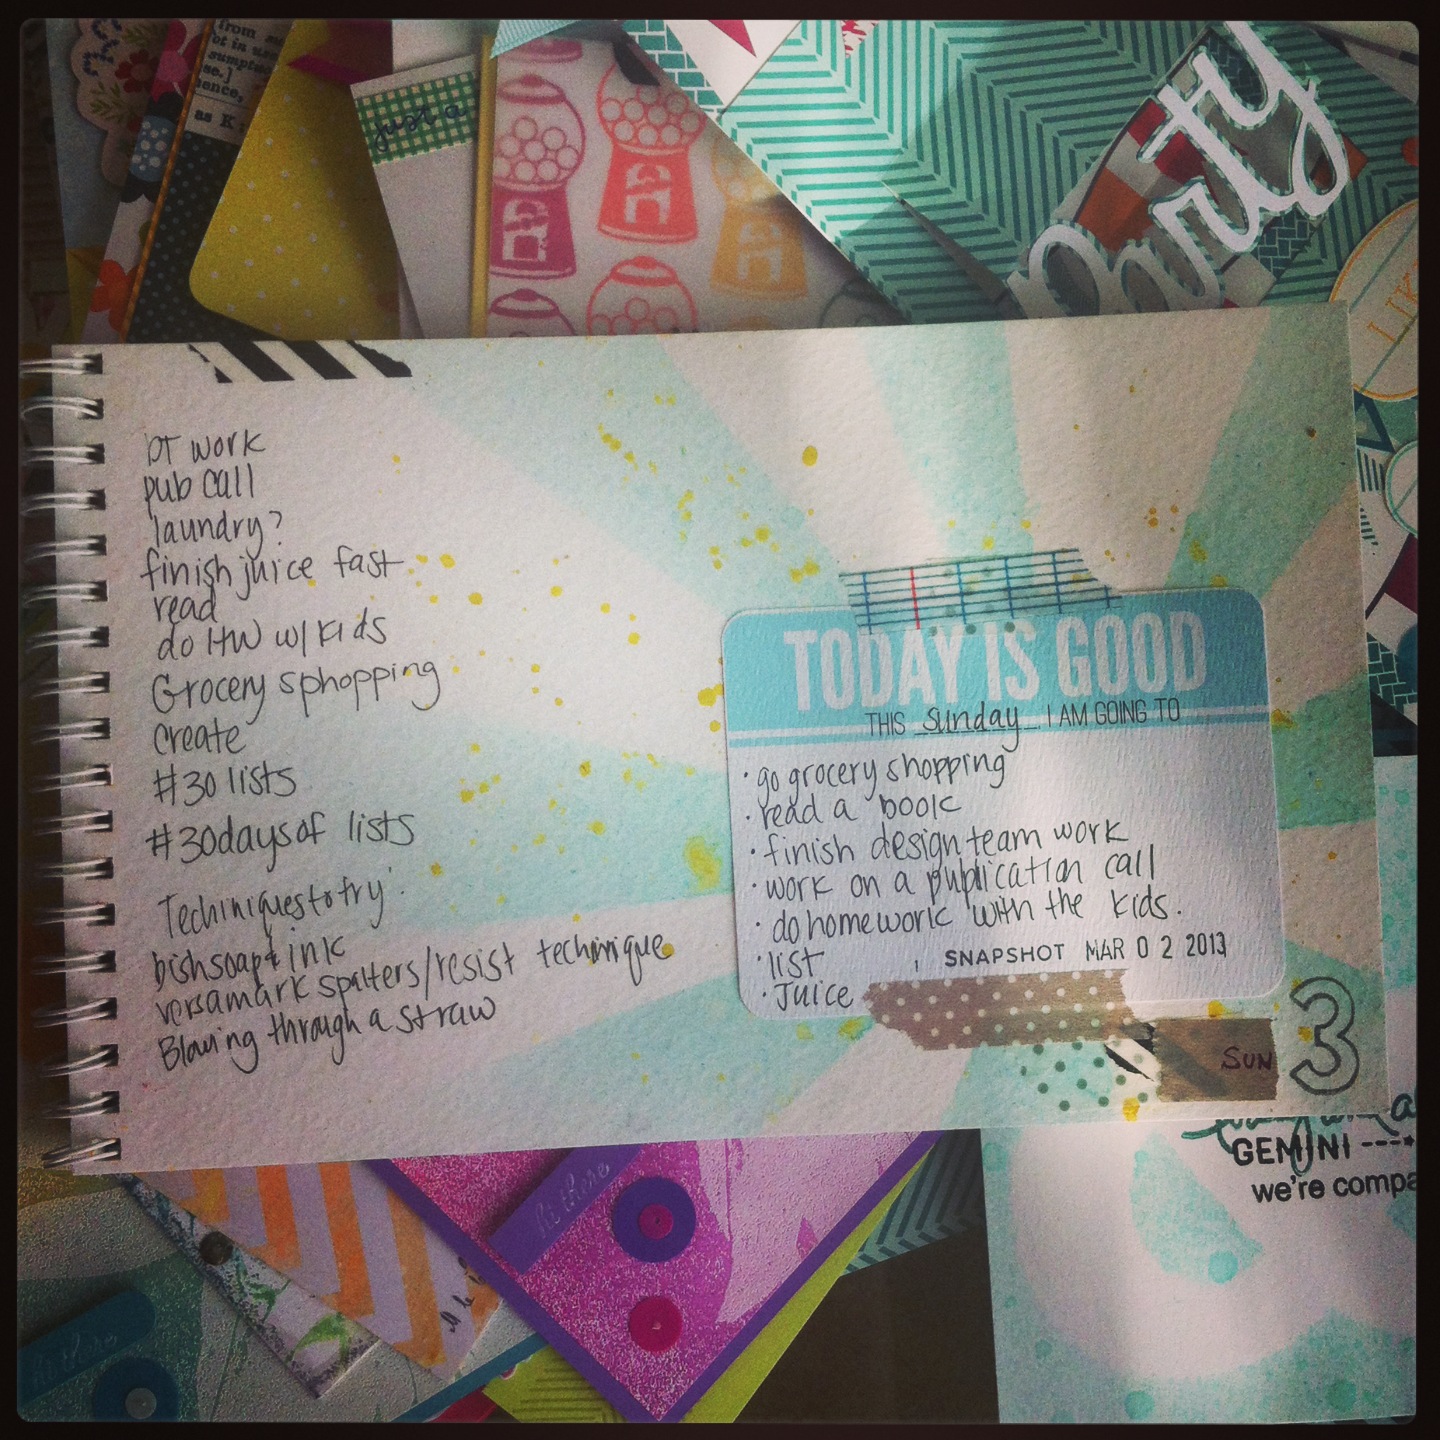
This Sunday I will-(or won’t get to).
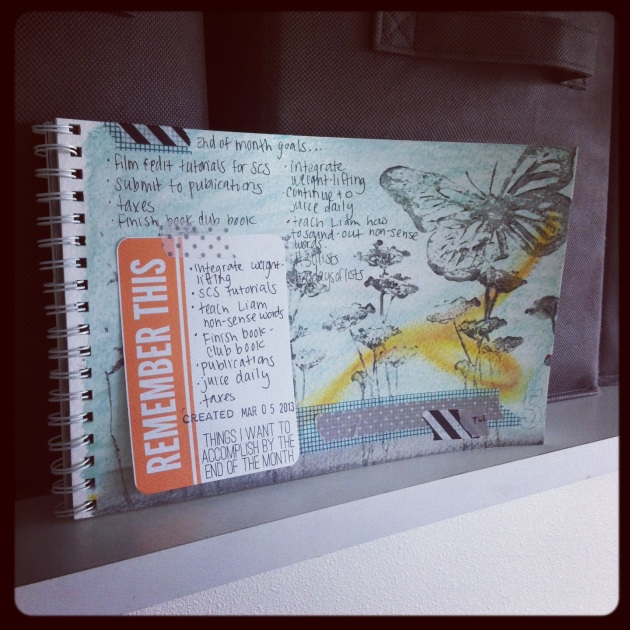
This month I will-
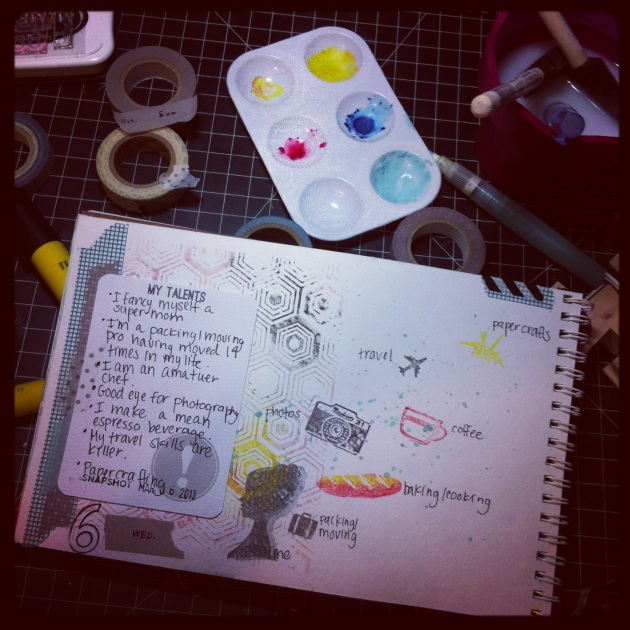
My Talents

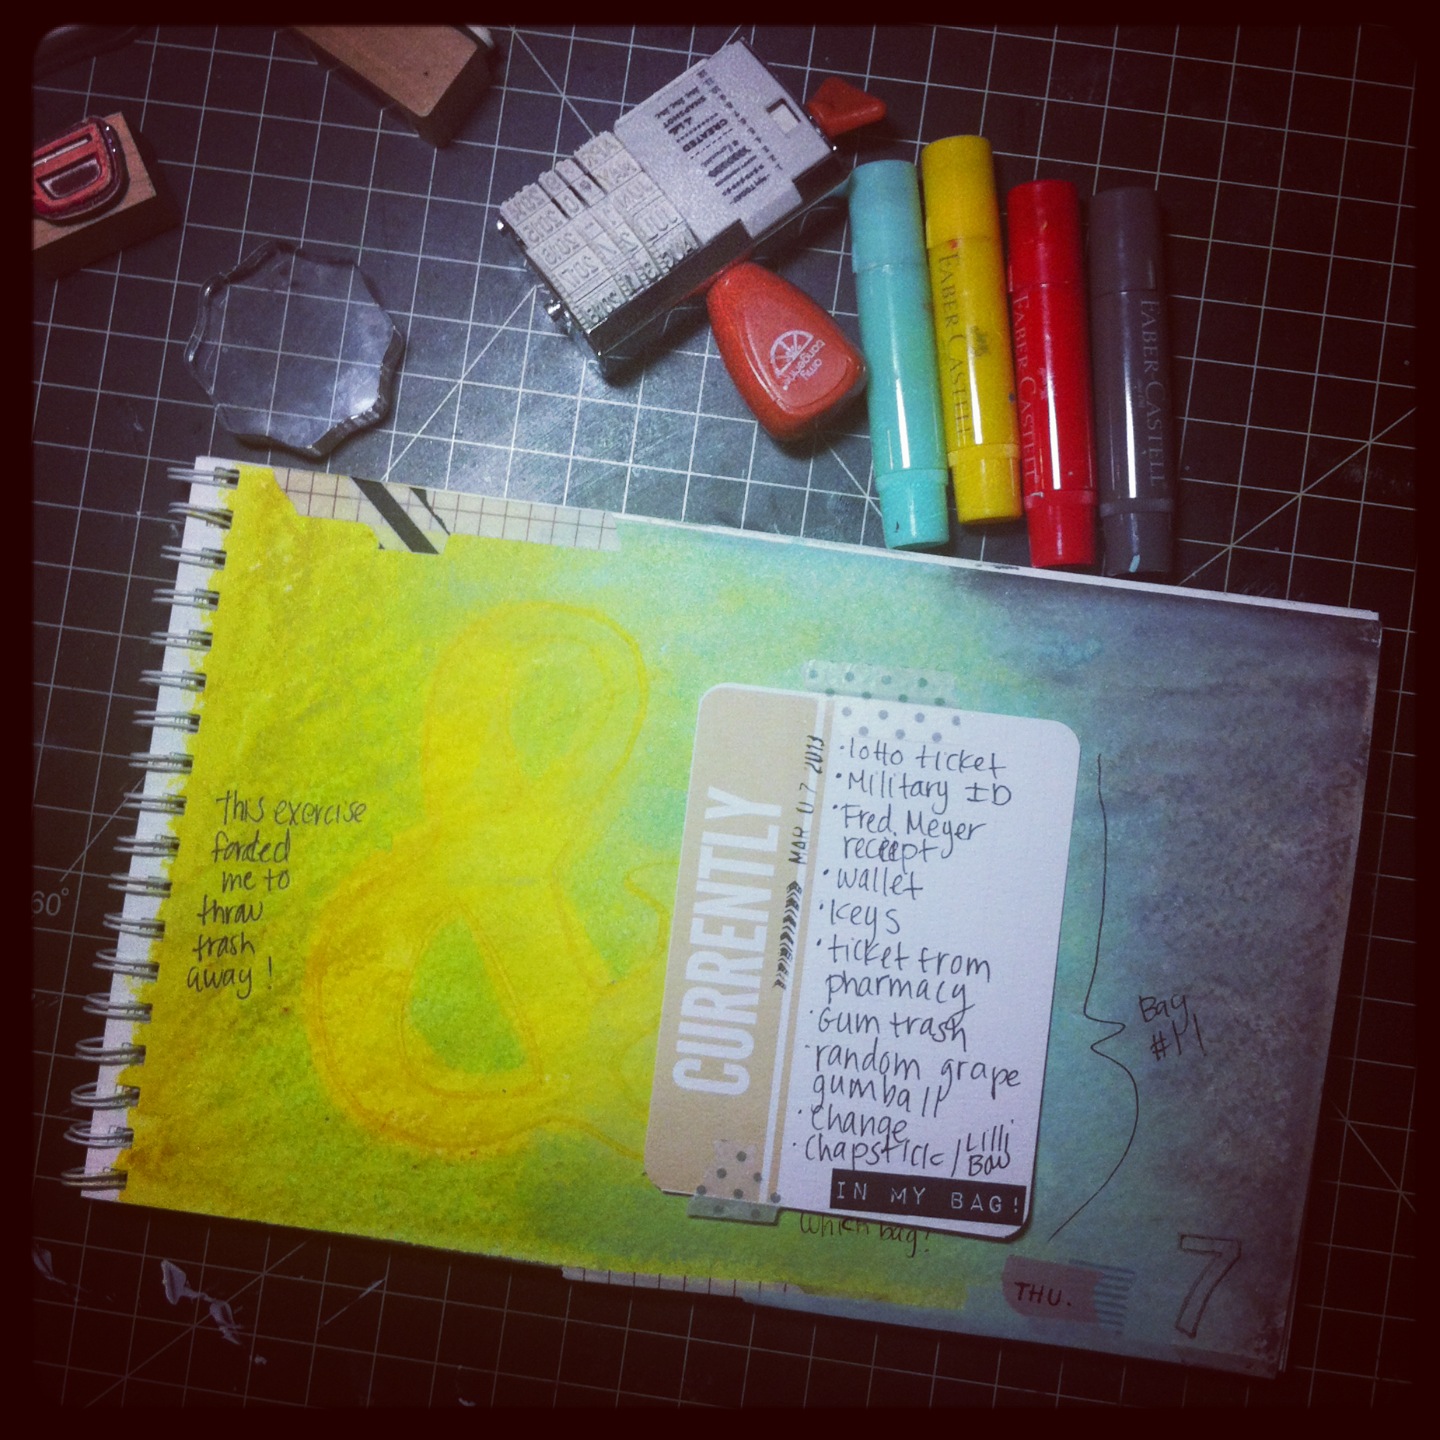
In my bag!

Comfort Foods
As you can see, the color scheme has remained the same. I’m using the new Faber-Castell Design Memory Craft 50’s Diner Gelatos! I’ve also incorporated some stamping using the Stamper’s Big Brush Pens because they don’t get muddled with the different mediums.
Are you a lister? What’s your approach? I’d love to see!

Hello Blogosphere!
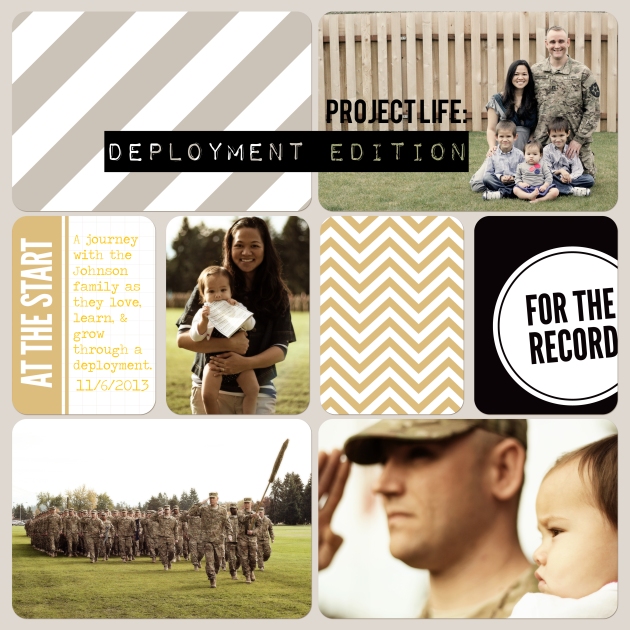
I finally took the plunge. I bit the bullet and settled on my favorite Project Life Core Edition & decided to go hybrid! So, here’s my title page! I have a Wide Format Printer, so I can easily print these beauties at home at my convenience. After I print them out on photo paper, I’ll add embellishments, stamping, and other little momentos!
Why did I choose to go hybrid?
1. Convenience. I love dragging and dropping photos directly into photoshop. There’s no need to trim photos or worry about having them ordered. In the end, I can just print off all the pages at home or through a printing service, quickly add momentos, and then throw them into page protectors.
2. Price. I know me. When I buy something, I have to have it ALL. Having everything digital will restrict my supply buy-age.
3. I’ll get it done. It can be awfully intimidating to create page after page with my supplies. You run the risk of those craft mishaps (mis-stamping, ink rubbage, glue boogers, etc.). With the digital format, everything is clean & simple!
4. Easy to collaborate with my soldier in Afghanistan. My husband can simply send me pictures via email, then I can open them, drag them into Photoshop, and viola!
Here are some of the products I will be using with the help of Photoshop Elements:
Project Life Templates A-J, These fit the special page protectors!
Seafoam Edition, Digital
Fonts: Bebas, Impact Label, Traveling Typewriter, Ostrich, and more!
HP Wide-Format Photo Paper (13×19)
HP Officejet 7000 Wide Format
Uniformed Scrapbooks of America US Army Scrapbook
Here’s a helpful link with information on how to use the templates with photoshop: http://www.youtube.com/watch?v=lAQ8y8Pq95k
So, are you a Project Lifer? What do you use? What do you like? I’d love to hear!
Thanks for dropping by,